Monthly Archives: May 2012

Print
Recipe

Challah and me - I have baked a three strand braided Challah before and thought this would be a fairly easy challenge. I went through photographs and videos by Ruth and was intrigued by the six and the four braided round ones. My dough rised perfectly and I was super thrilled going to the next step. I used a chocolate cinnamon raisin filling inside each strand and rolled it up just right. I didnt realize that I was pulling the dough while braiding. The raisin poped out, the strand became thinner and thinner…oh boy this was a total mess,after all not as simple as I had expected. At the end of it, I was so frustrated that I bundled up all the dough together and placed it in a bowl for a short while. And there you go…. the dough rised again. By then it was too late so I put it in the refrigerator and decided to do something with it the next day with a fresh mind. Well that didn’t help either. Even the next day my luck didn’t favor me much. The dough was dry and looked really weird. Guess I messed it up once again. Hence begins my second tryst with Challah.

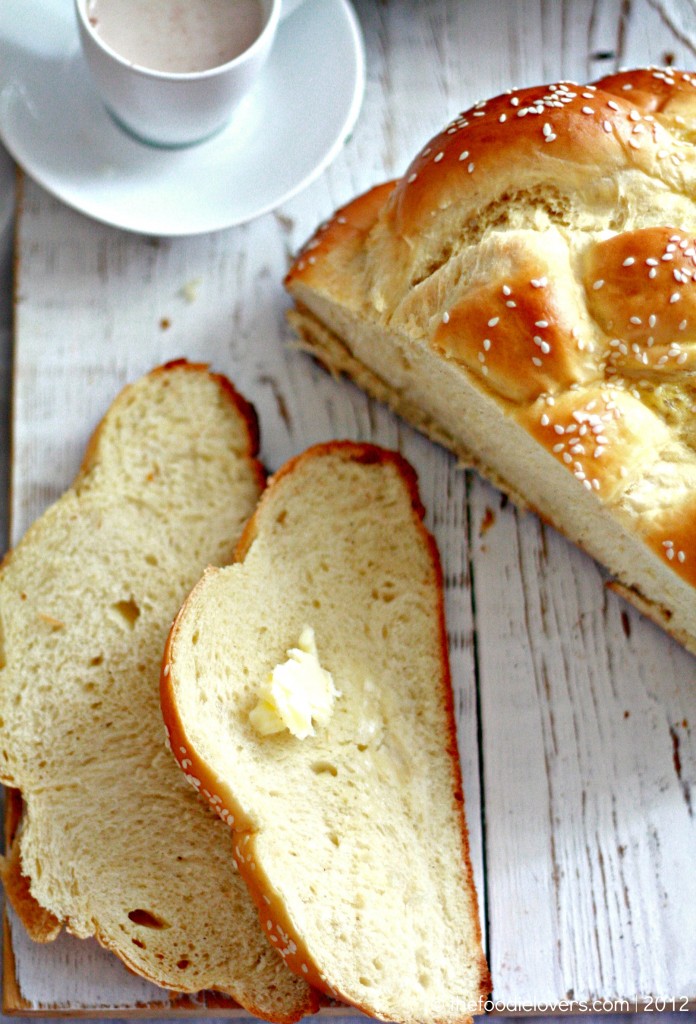
So this time I was pretty careful. I didn’t use any filling, just stuck with the plain one. I used a small portion of the dough to make a four strand braided round bread. The bread came out BIG, but looked beautiful. The other portion was used to make a six strand braid. I referred to Maggie Glezer’s video. It looked wonderful, but again the only problem was that it was too HUGE!.

I should have used a little less dough,silly me - lesson learnt. But I must say, they looked great and tasted even better.

May’s Daring Bakers’ Challenge was pretty twisted – Ruth from The Crafts of Mommyhood challenged us to make challah! Using recipes from all over, and tips from “A Taste of Challah,” by Tamar Ansh, she encouraged us to bake beautifully braided breads.

Challah is a bread of celebration in Jewish tradition. At a time when white flour was considered a luxury, its use was reserved for either the wealthy or for festive events. In Judaism, the Sabbath is a weekly holiday, and therefore is a festive occasion. It was around the 15th century when Jews in parts of Austria and Germany adopted an oval braided loaf from their neighbors to make the Sabbath special. These fancy shaped loaves made with white flour were seen as a fitting way to honor the Shabbat (Sabbath), symbolized in Jewish culture as a queen, therefore deserving of the finest one can achieve. In honoring the Sabbath as a day of rest, two loaves are traditionally put on the table. This is generally seen as a representation of the double portion of manna provided to the Children of Israel on Fridays during their wandering in the desert after fleeing from Egypt. This double portion allowed them to maintain the commandment to not do “work” on the Sabbath.

Another symbolic comparison to the manna eaten by the Israelites is the fact that challah is traditionally covered with a cloth prior to being blessed and eaten. According to tradition, manna was encased in dew to preserve its freshness. Covering the challah with a decorative cloth serves as another reminder of the special quality of the day of rest. There are other explanations given regarding why the challah is covered. Ruth says the one she always liked was that they cover the loaves so they will not be “embarrassed” by having to wait while the wine is blessed first. (A traditional Sabbath dinner begins with a blessing over the wine first, followed by the blessing of the bread, after which the meal is enjoyed.)

HONEY WHITE CHALLAH

An yeast-risen special braided Jewish bread, eaten on Sabbath and Holidays.

Ingredients

1 ½ cups warm water, separated
1 tablespoon sugar
2 tablespoon dry active yeast
½ cup honey
1 tablespoon light colored vegetable / olive oil
4 large eggs
1 ½ teaspoon salt
5 cups all-purpose (plain) flour, plus more as needed (up to 8 or 9 cups total)
1 egg beaten with 1 teaspoon water

Directions:

In mixer bowl/large mixing bowl combine ½ cup warm water, 1 Tbsp. sugar and 2 Tbsp. yeast. Allow to proof approximately 5 minutes until foamy.To the yeast mixture add the remaining water, honey, oil, eggs, salt and 5 cups of flour. Knead (by hand or with your mixer’s dough hook) until smooth, adding flour as needed. Knead for approximately 10 minutes. Transfer dough to a clean, oiled bowl, turn to coat or add a bit more oil on top. Cover bowl with a kitchen/tea towel. Leave to rise in a warm place until doubled, about 1 ½ hours.Punch down the dough, divide it into two sections. Use one half to make each loaf (shaped or braided as desired). Place loaves on parchment lined or greased baking sheets, cover with a towel, allow to rise 30 minutes. Preheat oven to 325 degrees. Brush tops loaves with egg wash. (Sprinkle with seeds or toppings here if wanted - I used a poppyseed topping for the six strand braided one and sesame seeds for the four strand braided one.) Bake loaves 30-40 minutes until done. Cool on wire racks.

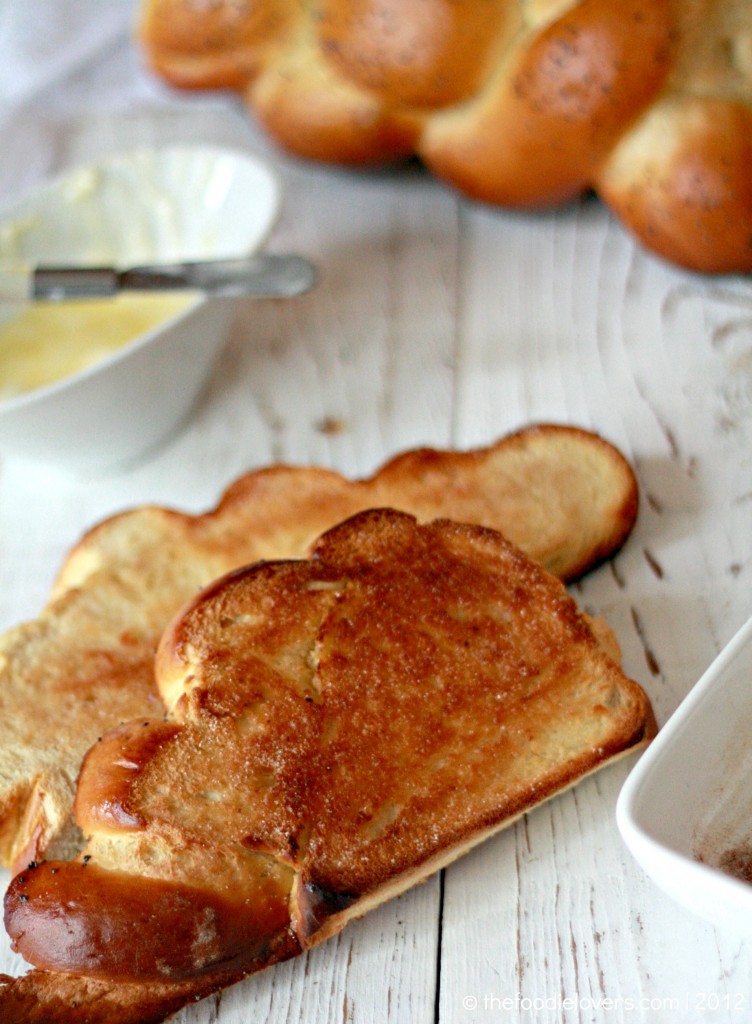
As mentioned my six strand braided bread was way too huge and bulky, it tasted excellent though. I toasted a few slices with cinnamon and sugar and made Bread Pudding out of it. Recipe to follow shortly:)

Thank you Ruth for the wonderful Challenge. All of us loved the Bread at home. I will try again to get the perfect six strand braided bread!

Print
Recipe

HONEY CAKE brings back a lot of fond memories. There was always a competition in studies between my brother and me. Who ever scored higher marks would always be treated with the yummiest Honey cakes. I dont know why but back then my family was crazy about these cakes. So on the day of our results I would anxiously wait for Dad to come home with these delicious treats :) . Aww gone are the days - now I feel so old. I am married,have a little kid,lot of responsibilities….gosh time just flies. I wish there was a rewind button in life…I would love to go back to my younger days:). Anyways I really wonder why on earth I didn’t even think of baking them until today.

I was happy when I saw “Honey” as the theme for this months Monthly Mingle. And the first thing that came into my mind was “Honey Cake”.

HONEY CAKE

Ingredients:

4 tablespoon butter, softened
1 1/4 cup sugar
2 large eggs
2 tablespoon honey
1 teaspoon vanilla extract
1 teaspoon orange zest
1/2 cup orange juice
1/4 cup milk
1 1/4 cup flour
a pinch of salt
1 1/4 teaspoon baking powder
just a little orange food color ( optional)
unsweetened/sweetened coconut flakes for decoration(optional)

Syrup:

1/2 cup honey
1/4 cup water
2 tablespoon sugar

Preheat oven at 350F. Combine the dry ingredients ie., flour,salt and baking powder and set aside. In the large bowl of a stand mixer fitted with paddle attachment, cream butter and sugar until fluffy. Add the eggs one at a time,beating well after each addition. Add the vanilla extract,honey and orange zest. Pour the milk and beat until well incorporated. Now add the flour mixture alternately with the orange juice. Add in the food color if using.

Pour onto a greased 8′ round pan and bake for about 30-40minutes or until a toothpick inserted comes out clean. Once done allow the cake to cool for about 15 minutes. In the meanwhile make the syrup.

Syrup - Mix all the ingredients and bring it to a boil on medium heat. Once it thickens remove it and allow it to cool.

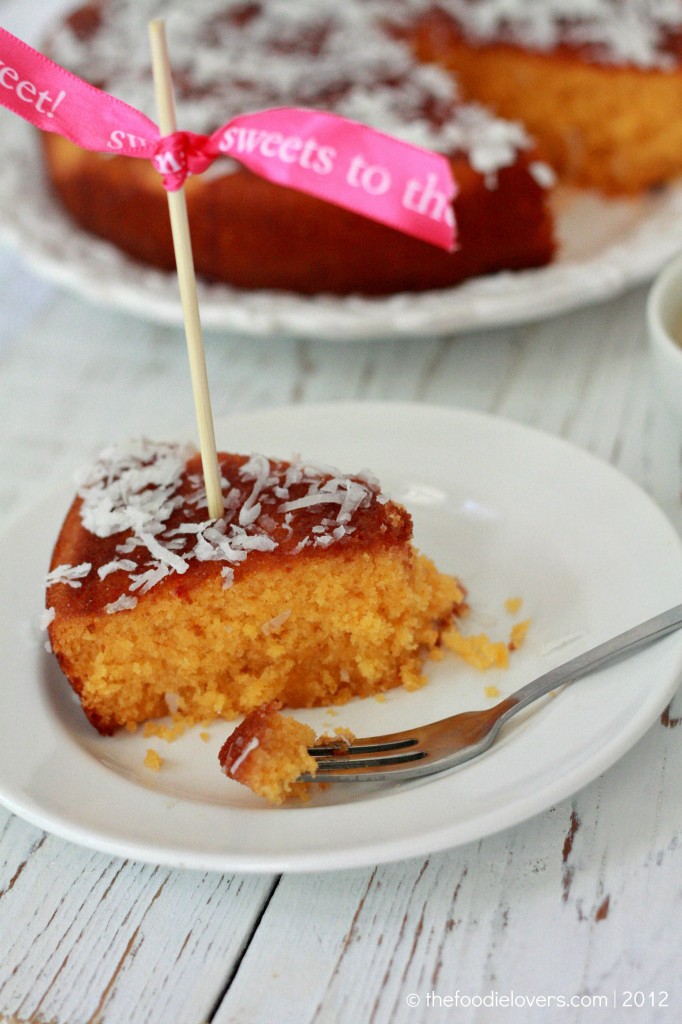
When the cake is warm, take a toothpick and prick all over it. Using a spoon slowly drizzle the syrup all over. The cake will absorb all the liquid. Allow it to set…for about 3 hours. Now turn it upside down. Sprinkle coconut flakes(not fresh ones) all over the cake. Cut them into slices and enjoy!

My cake had a nice brown layer in the bottom so it looked good when I flipped them. Some heat mixed fruit jam with little water and spread it on the cake to give that dark color on top. That taste well too:). Also I ran out of orange food color,so used up yellow and very little orange color. The cake was super moist and tasted delicious:)

This is off to the Monthly Mingle event hosted by Sneh of the Cook Republic. Thanks for a great theme Sneh:)

Print
Recipe

I am an avid follower of Ben’s blog – Whats Cooking Mexico?. One thing that clearly stands out in his blog is his ability to relate to the end reader and provide a wealth of valuable information. His blog gives you a whole new perspective on not just the food but the culture and tradition. Through his blog I have come to believe that there is much more to a food blog than just food. He is one of my favorite bloggers. When Ben asked me to write a guest post for him, I happily accepted.

I have been thinking for a while on what to exactly write for his blog. I was in a dilemma on whether to do something mexican or something different. Ben being the master of mexican cuisine, I decided to stick with something more comfortable – baking Bread.

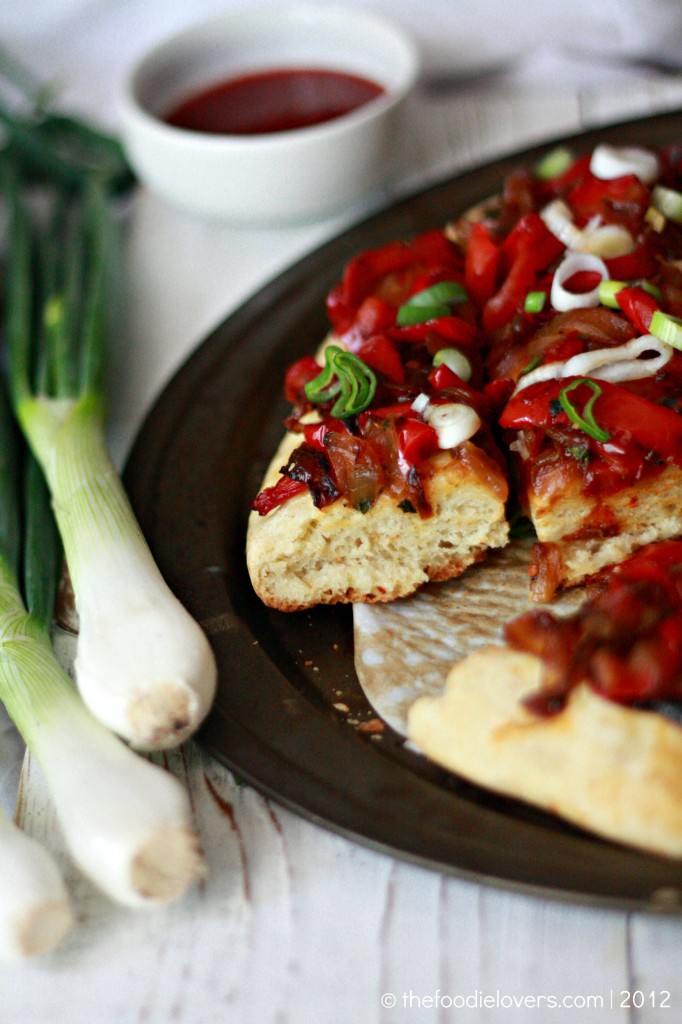
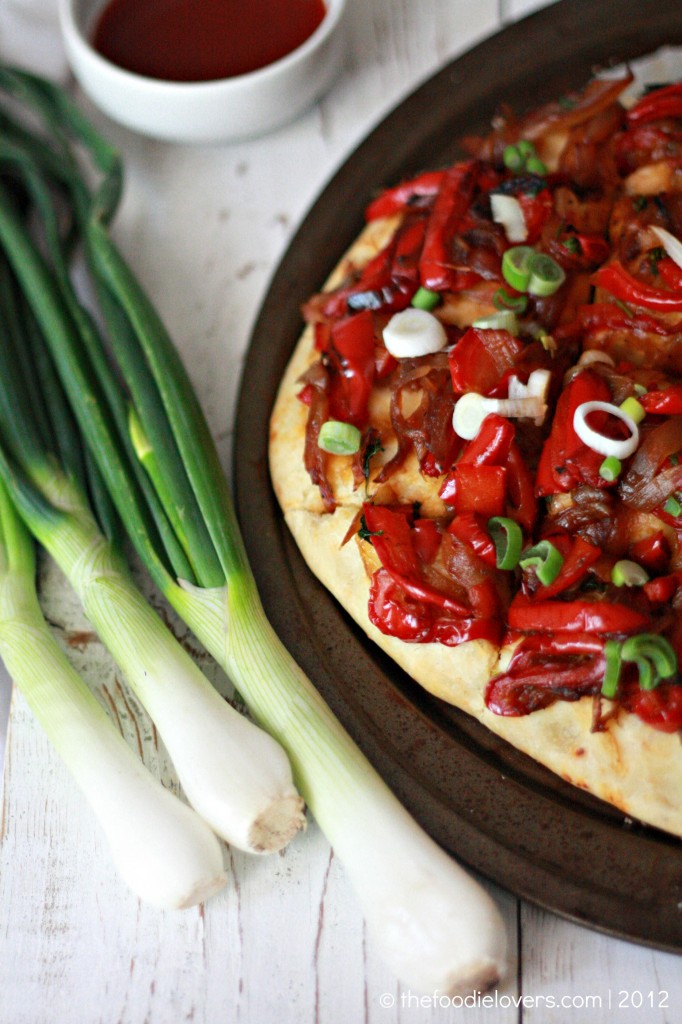
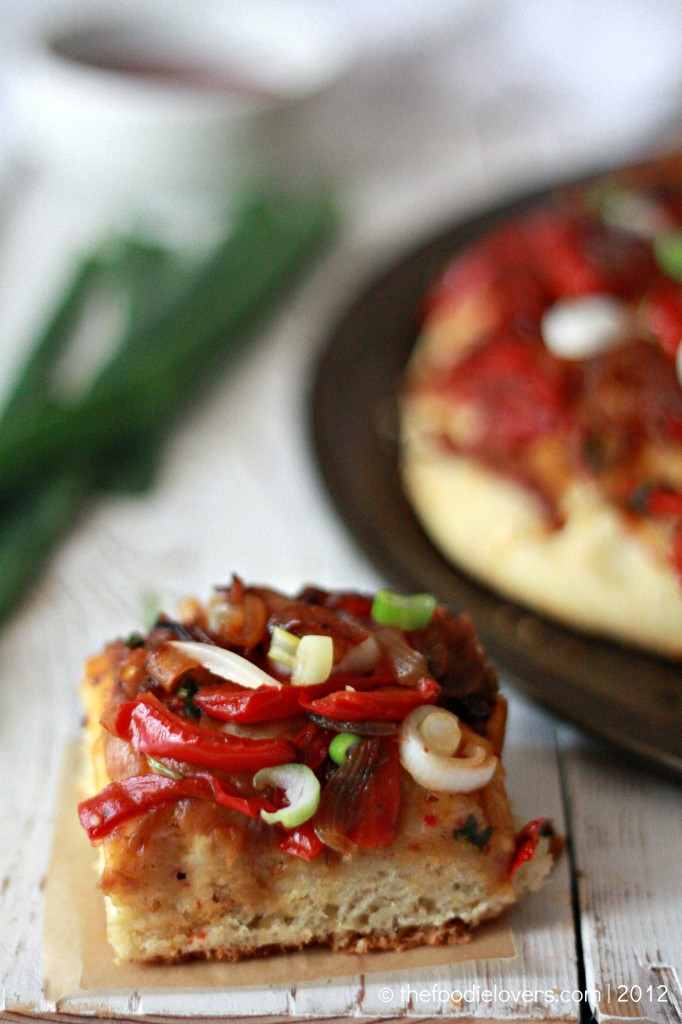
Focaccia is a very a common italian bread. The savory versions are more popular and is usually topped with rosemary,oregano,sage,garlic,olives,onions etc. It looks similar to a pizza in terms of texture and looks. The basic ingredients are flour,olive oil,yeast,salt and water. Various versions of this bread can be found across the world. The bread is fairly plain from inside and a spicy topping helps to balance the taste well.

One day I was in the process of making Sweet Grape Focaccia. I had this craving for something spicy. Hence the sweet became the savory Focaccia. I had some left over sauteed vegetable made with Onions, Peppers and Tomatoes from the previous night….thus happened the Spicy Focaccia with Onion & Bell Pepper topping :) This by far has been our favorite topping at home:-)

Bite any one??

Do hop on to Ben’s blog for the recipe:)

Print
Recipe

I am a big fan of Mexican cuisine, well who isn’t ?

I came across Ben’s blog while searching for authentic Mexican recipes long back.I wasn’t into serious blogging then. A few months back,I got to his blog through one of the guest posts that he had written for another blogger. From then on I’ve been religiously following his wonderful posts.His work takes you on a great journey to Mexico where in he talks about their food,tradition,markets, places etc. Its one stop place for all the delicious Mexican food:). I reached out to Ben and asked him to do a guest post for me and he gratefully agreed. Thank you Ben…over to you.

I’m honored to write a guest post for Nina. I have been following her blog for just a couple of months but her photography, stories and baked goods made me fall in love with it. Now I’m such a fan that I recommend it to everybody around the blogosphere.

If you’ve ever read my blog, you probably know that I’m a street and market food lover. One of the three jobs I have is being a culinary guide in Mexico City. I take people from all over the world to the streets and markets of this amazing city to eat.

Street food in Mexico is not lacking. One of the most common comments I get from our clients is that you can’t go a block without running into some kind of food stall, restaurant or market. From tamales to tlacoyos; from tortas (Mexican sandwiches) to burritos (not as common as many people believe, but we have some dang good burritos) and, of course, all kinds of tacos, Mexico City streets and markets have it all. It is a foodie paradise.

One of my favorite foods on the streets and at the markets of Mexico is tostadas. Tostada is no more than a corn tortilla that has been fried, toasted or baked until it becomes crispy. They are eaten as bread with pozole, a stew made with corn and pork, but they are more commonly prepared with different toppings to become a dish by themselves.

And what toppings do people use to make tostadas? The list is endless! My favorite tostada place inside the Coyoacan market offers seafood including crab, shrimp and octopus. But that’s just the beginning. Other toppings are chicken, beef, mushrooms, vegetables and one of my personal favorites, pork feet.

Those toppings are only the main ingredient on a tostada. Tostadas also might include refried beans, lettuce, avocado, cheese and cream. As with other types of Mexican food like quesadillas and tacos, the toppings for the tostadas vary in each region of the country. Some of them are as simple as refried beans and some kind of dairy and some as complex as cochinita pibil (a dish from the Yucatan peninsula which origins can be traced to the Mayan cuisine).

Making tostadas at home can be very easy. With Mexican and Latino markets and stores opening all over the U.S. and other parts of the world, getting the right ingredients has never been easier. Today I want to share with you a recipe to make Tilapia Tostadas, a recipe that has been tried and tested for a long time and is a favorite in our household.

TILAPIA TOSTADAS - MEXICAN STYLE

Ingredients:

1 lb tilapia fillets, rinsed and pat dried.
2 TBSP olive oil
1 small onion, chopped
2 garlic cloves, finely minced
2 jalapeno peppers, chopped (keep the veins and seeds for more heat)
2 cups diced tomatoes
bunch of fresh parsley, chopped
2-3 TBSP lime juice
salt and pepper to taste
Slices of avocado
12 tostadas

Heat olive oil in a heavy skillet. Sauté onion and when it starts to turn translucent add garlic. Stir well.Place tilapia on the skillet and let it cook until the flesh starts to flake away. Add peppers, tomatoes, parsley and lime juice. Cook together for about 7 minutes at medium high heat.Season to taste, serve over tostadas with a slice of avocado and enjoy!

Buen provecho!

Related Posts Plugin for WordPress, Blogger...

Next Entries »

COPYRIGHT

MyFreeCopyright.com Registered & Protected

FAVORITE POST

Povitica Bread

Povitica - An East European Bread

Photobucket
BFS-logo
Proud member of FoodBlogs
my foodgawker gallery

SOCIAL MEDIA