Monthly Archives: June 2012

Print
Recipe

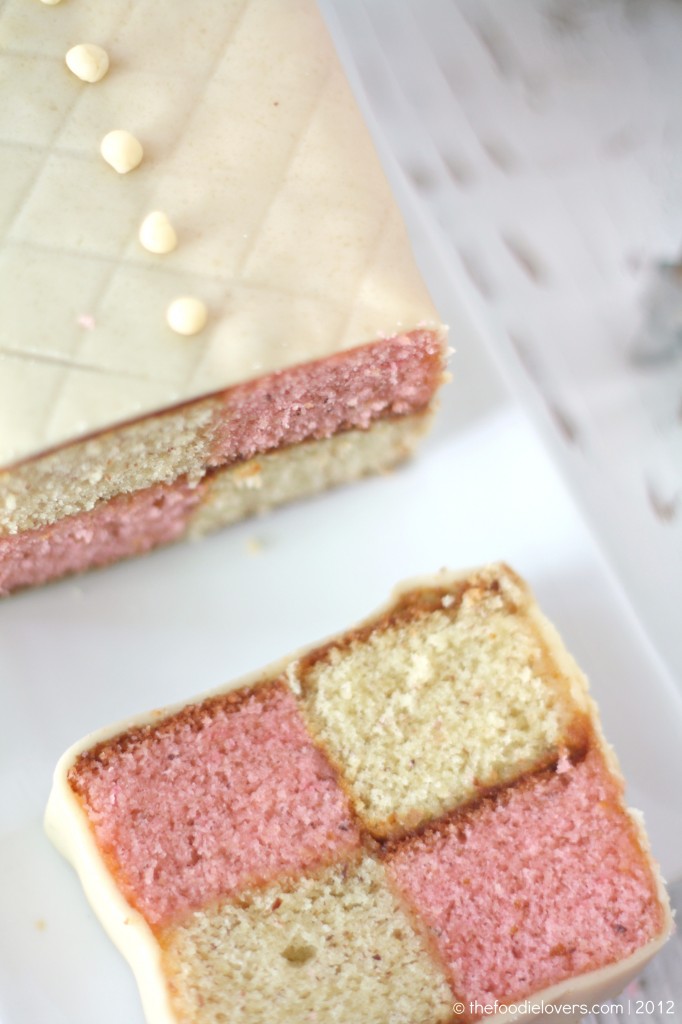
BATTENBERG CAKE is a very light sponge cake with checkered patterns. The cake is covered with Marzipan and when sliced you’ll see the different sponge colors. The very common one is with pink and yellow squares (said to represent the four princes of Battenberg).I have had this Cake earlier,but never knew it by its name.

I believe this cake was created as a wedding cake for royalty. The first Battenberg cake was made to celebrate the marriage of Queen Victoria’s granddaughter, Princess Victoria, to husband Prince Louis of Battenberg.It’s traditionally flavored with almond and has the signature Battenberg .The strips of sponge are glued together using jam (normally apricot) and the whole cake is covered in marzipan. Sometimes the edges are crimped and the top is patterned with a knife.
Although there are specialized Battenberg cake tins available, you don’t need one. This can be baked in a square baking tin and a divide made with foil to separate the two batters. This recipe really is all about simplicity.

Mandy of What The Fruitcake?! came to our rescue last minute to present us with the Battenberg Cake challenge! She highlighted Mary Berry’s techniques and recipes to allow us to create this unique little cake with ease.

The recipe was also fairly simple, we could whisk together the dry ingredients; combine with the wet ingredients and beat together just until the ingredients are combined and the batter is smooth. I wasn’t too sure about the outcome, so followed my own method.

TRADITIONAL BATTENBERG CAKE

Serves-8
Time Taken–1 hr including baking time( excluding cooling time)
Ingredients
¾ cup unsalted butter, softened & cut in cubes
¾ cup caster Sugar
1¼ cups self-raising flour
3 large eggs, room temp
½ cup ground almonds
3/4 tsp baking powder
½ tsp vanilla extract
1/4 tsp almond extract
red food colouring, paste, liquid or gel ( I used Wilton’s burgandy color)

To Finish
1/3 cup apricot Jam
1 cup / 8 oz marzipan

Preheat oven to moderate 350°F. Grease an 8”/20cm square baking tin with butter. Line the tin with parchment paper, creating a divide in the middle with the parchment (or foil).
In a stand mixer fitted with a paddle attachment, cream butter and sugar until creamy. Add the eggs one by one and beat until pale yellow; add the extract. Mix all the dry ingredients together. Now add it to the above mixture. Beat on medium speed until mixed. Spoon half the mixture into the one side of the prepared baking tin. Add a few drops of the food color to the remaining batter, stir until the color is thoroughly distributed, add more color if needed.
Spoon the pink batter into the other half of the prepared baking tin. Smooth the surface of the batter with a spatula, making sure batter is in each corner

Bake for 25-30mins until the cake is well risen, springs back when lightly touched and a toothpick comes out clean (it should shrink away from the sides of the pan). Leave to cool in the tin for a few minutes before turning out to cool thoroughly on a wire rack.

Once completely cool, trim the edges of the cake with a long serrated knife. Cut each colored sponge in half length ways so that you are left with four long strips of sponge. Neaten the strips and trim as necessary so that your checkered pattern is as neat and even as possible. Gently heat the apricot jam and pass through a small sieve. Brush warmed jam onto the strips of cake to stick the cake together in a checkered pattern (one yellow next to one pink. On top of that, one pink next to one yellow). Dust a large flat surface with icing sugar then roll the marzipan in an oblong shape that is wide enough to cover the length of the cake and long enough to completely wrap the cake. Brush the top of the cake with apricot jam. Place the cake on the marzipan, jam side down
- Tip: Either in the middle or to the one side of the marzipan

Brush the remaining three sides with jam. Press the marzipan around the cake, making sure the join is either neatly in the one corner, or will be underneath the cake once turned over. Tip: If you put the sponge to the one side of the marzipan, I found it easiest to “roll” the sponge over and over onto the marzipan instead of lifting the marzipan up onto the sponge. Carefully flip the cake over so that the seam is under the cake and score the top of the cake with a knife, you can also crimp the top corners with your fingers to decorate. Neaten the ends of the cake and remove excess marzipan by trimming off a small bit of cake on both ends to reveal the pattern.

Even though it was just a regular sponge cake, the technique is what mattered. I would love to try this again with more flavors. Overall an easy challenge; it has been a good learning too:). Thanks Mandy for a lovely challenge!

Bon Appetit!

Nina

Print
Recipe

I am sure each of us has some recipes that never turn out right; well at least I do have a few. To start with I can never make good kebabs using lentils. Have tried and wasted enough and now given up. I have also never made right textured caramel… End up thinking “did I get the right amber color” and most times it’s overdone, turns hard and sometimes even burnt! Another recipe for which I have not quite got the right formula is the Falafels.There is something fundamentally wrong I’ve been doing.Tried different recipes, different techniques…but somehow never have got the hang of it. Baking them is fine, but then they definitely don’t turn out as tasty as the fried ones. As much as I would love to make them, the perfect Falafel remains a mystery to me!

Every time I come across the word “Falafel” my eyes lit up….tell myself at least this time….Umm…err no, forget it!. I came across the Falafel Stuffed Eggplant recipe in Joanne’s blog who had adapted it from Cooking Light, I had bookmarked it immediately. It was baked, so I had no second thoughts. The recipe was loaded with flavors and I was damn sure it would be great.

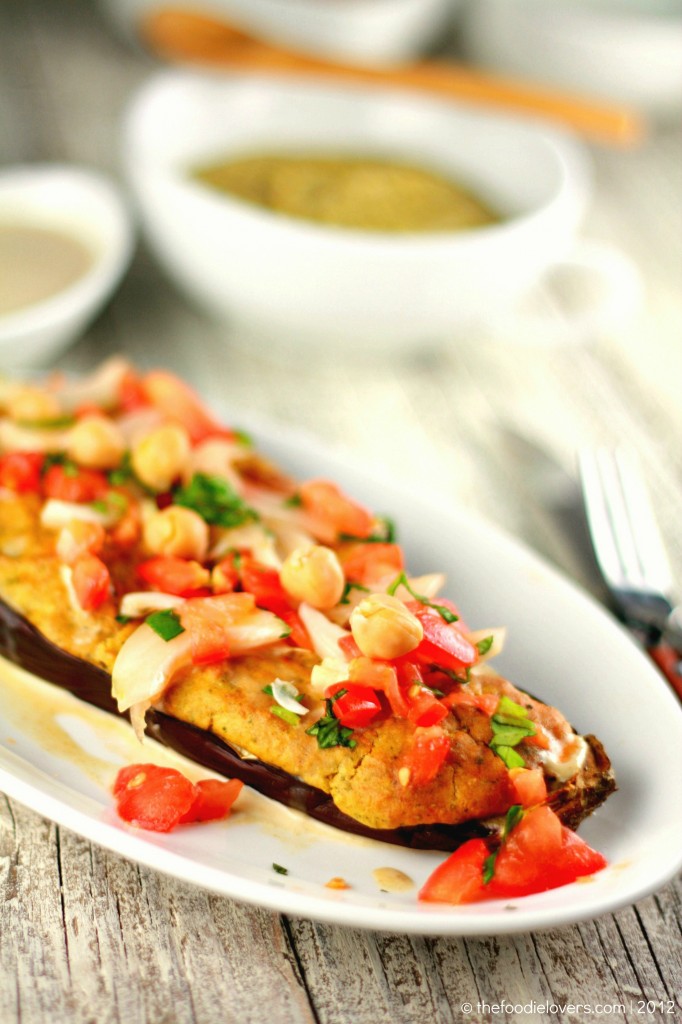
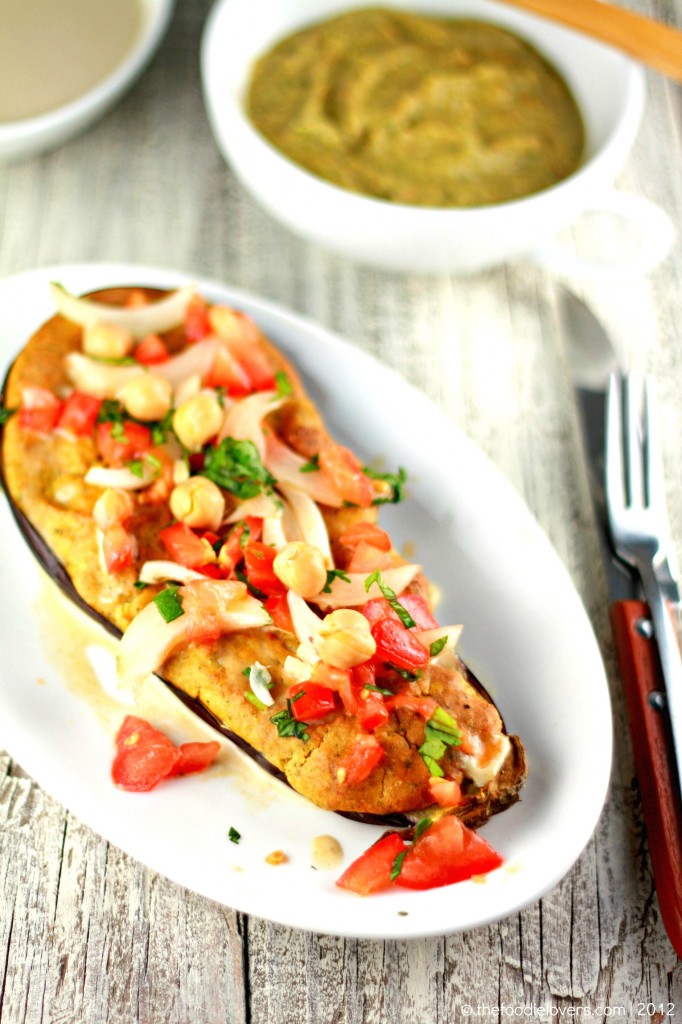
FALAFEL – STUFFED EGGPLANT WITH TAHINI AND TOMATO RELISH

Tahini sauce:

3 tablespoons warm water
2 tablespoons tahini (roasted sesame seed paste)
4 teaspoons fresh lemon juice
1 teaspoon honey
1/2 teaspoon ground cumin
1 garlic clove, minced

Eggplant:

2 eggplants (about 12 ounces each)
Cooking spray
3/4 teaspoon kosher salt, divided
1/4 cup chopped onion
1/4 cup fresh breadcrumbs
1/4 cup chopped cilantro
1 tablespoon tahini (roasted sesame seed paste)
2 teaspoons olive oil
1 1/2 teaspoons ground cumin
1/2 teaspoon ground coriander
1/4 teaspoon freshly ground black pepper
1/4 teaspoon ground red pepper
2 large eggs
2 garlic cloves, minced
1 (15-ounce) can no-salt-added chickpeas (garbanzo beans), rinsed and drained

Relish:

1 cup chopped seeded tomato
1/2 cup chopped seeded peeled cucumber
1/2 cup vertically sliced red onion ( I used white onions)
1/2 cup coarsely chopped cilantro
1 tablespoon fresh lemon juice
1 tablespoon extra-virgin olive oil

To prepare sauce, combine first 6 ingredients in a small bowl, and stir with a whisk. Set aside.

Preheat oven to 475°.To prepare eggplant, slice the eggplants in half lengthwise; score cut sides with a crosshatch pattern. Place the eggplant halves, cut sides down, on a baking sheet coated with cooking spray. Bake at 475° for 7 minutes or until slightly tender and browned. Remove from oven; carefully scoop out pulp, leaving a 3/4-inch shell. Reserve pulp for another use. Season cut sides with 1/4 teaspoon salt.

Combine remaining 1/2 teaspoon salt, onion, and next 11 ingredients (through chickpeas) in a food processor; process until smooth. Spoon 1/2 cup chickpea mixture into each eggplant shell.( I completely covered the eggplant, you may choose to just use it in the centre) Bake at 475° for 25 minutes or until eggplant halves are tender and chickpea mixture is lightly browned. To prepare relish, combine the tomato and remaining ingredients in a bowl; stir to combine. Place 1 eggplant half on each of 4 plates. Top each half with 1/4 cup relish and 1 1/2 tablespoons sauce.

The Baked Falafel was overloaded with yummy flavors ie., ground cumin, garlic and cilantro. The eggplant was so soft and tasted great with the falafel.

Surprisingly my favorite was the sauce, just plain simple ingredients whisked to a perfect topping. Do not omit the sauce it’s something you would really enjoy, trust me:).If you love Falafels…am sure you would love this one too.

Bon Appetit!

Nina

Print
Recipe

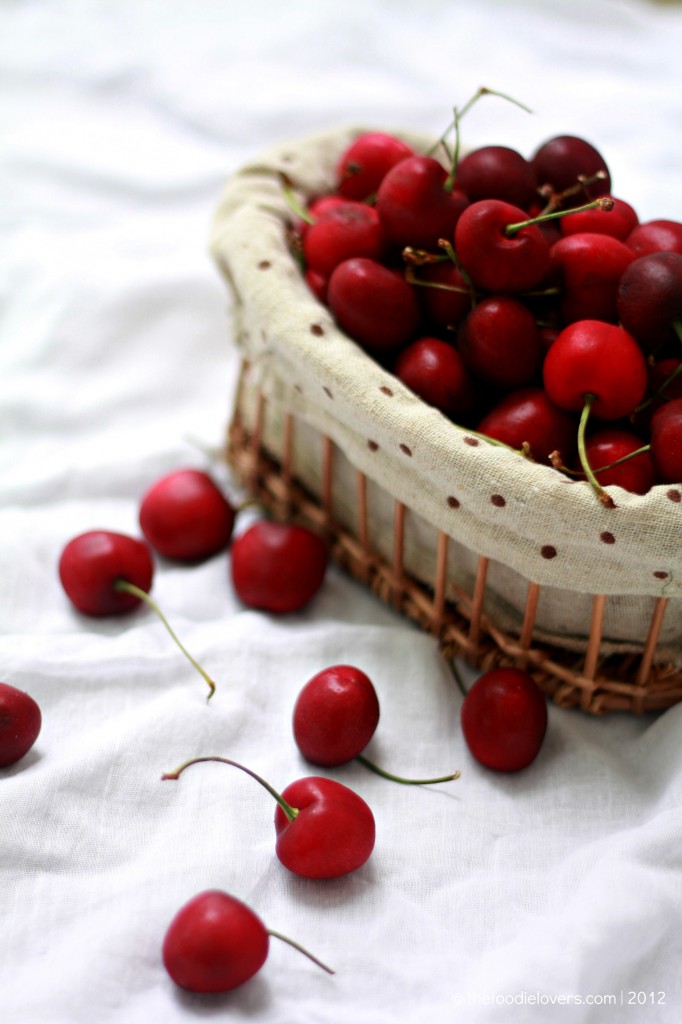
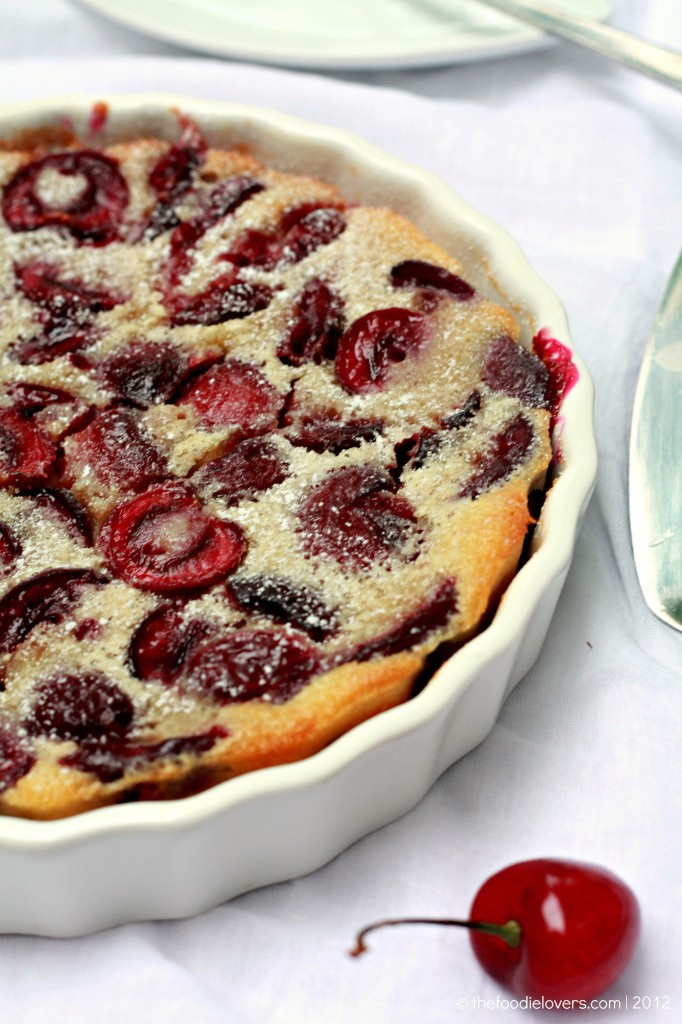
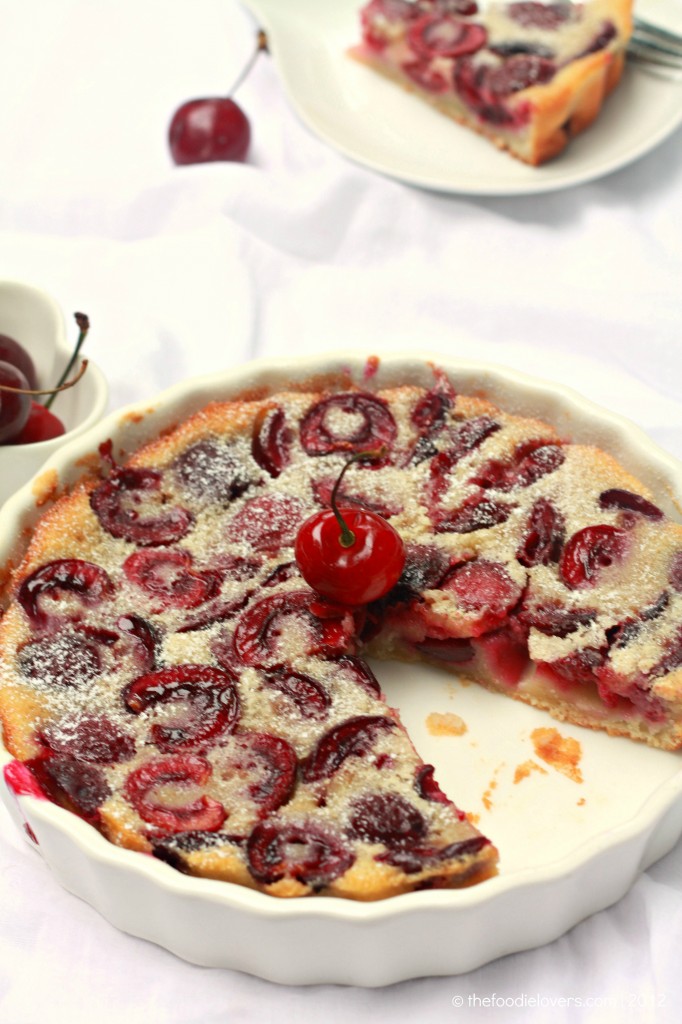
CLAFOUTI pronounced as kla-fu-te is a French Country dessert and is very easy to prepare. Since Bing cherries were in season, I couldn’t think of anything other than “Cherry Clafoutis”.

Oh boy working with the cherries was a nightmare; I am talking about pitting it. I don’t know if its just me or is it something common for everyone.The right approach is usually to relieve the cherry from its pit without completely mangling the flesh. I wanted to keep the cherry whole but removing the pit was quite a task. So I took the easier way out. Simply cut it open and removed the pit!!

I was watching an old episode of Ina Garten’s Barefoot Contessa in which she was baking Pear Clafoutis. She mentioned that clafoutis are like “ pancake batter over fruits” and followed a recipe of her own with flour, eggs and milk. What she said sounded simple and therefore I went about using my readily available pan cake mix. I did add couple of eggs and milk to make the batter. I filled the batter upto the end ie to the rim, and there you go-while baking it began to flow all over the sides. Luckily I had placed the tart pan on a parchment lined baking sheet. Once baked, all the cherries settled in the bottom and looked as though a sponge cake was covering it. It tasted OK but definitely nothing to write home about. So I tried something on my own.

Ceramic pans work the best for this one, I used the one that I picked up at Daiso in SFO. All it requires is six easy ingredients.It took me about ten minutes to put everything together.The most time intensive part was pitting the cherries. Here is how I made it:

CHERRY CLAFOUTIS

Makes two 8” pan
Time – 1 hour(including baking)

Ingredients:

1 1/2 cups bing cherries, washed, pitted and cut into half
2 eggs
3/4 cup + 1 tablespoon sugar
1 teaspoon vanilla extract
3/4 cup + 2 tablespoon milk
1 cup flour
1/2 teaspoon powdered sugar

Preheat oven at 350F. Grease a quiche or tart pan. In the bowl of a stand mixer, add eggs and 3/4 cup of sugar; whisk until light and yellow. With the motor running, add in the vanilla extract and milk. Gradually add in the flour. You will end up with a smooth batter.

Toss cherries with a tablespoon sugar and spread it on the greased pan. Slowly pour the batter over the cherries and place it in the oven. Bake for about 40 minutes or until a toothpick inserted comes out clean. Just before serving garnish with powdered sugar. Serve warm with ice cream or whipped cream.

Do not over bake it.

The Clafoutis tastes like a cross between custard and a pancake. If you have sweet tooth do add a little more sugar.We loved this dessert,it was delicious.

*updated - My husband remarked that there were too many cherries in the clafoutis. The next time I would reduce it to 1 cup.

Bon Appetit!

Print
Recipe

I really wish I had a magic wand that would easily change things!. Hmmm guess that’s too much to ask for. All I need is some energy to charge me up. I just recovered from Bronchitis and now little “A” is down with cold and fever. Poor thing is so tired and wants me next to her always. Having a sick child at home can be overwhelming at times.

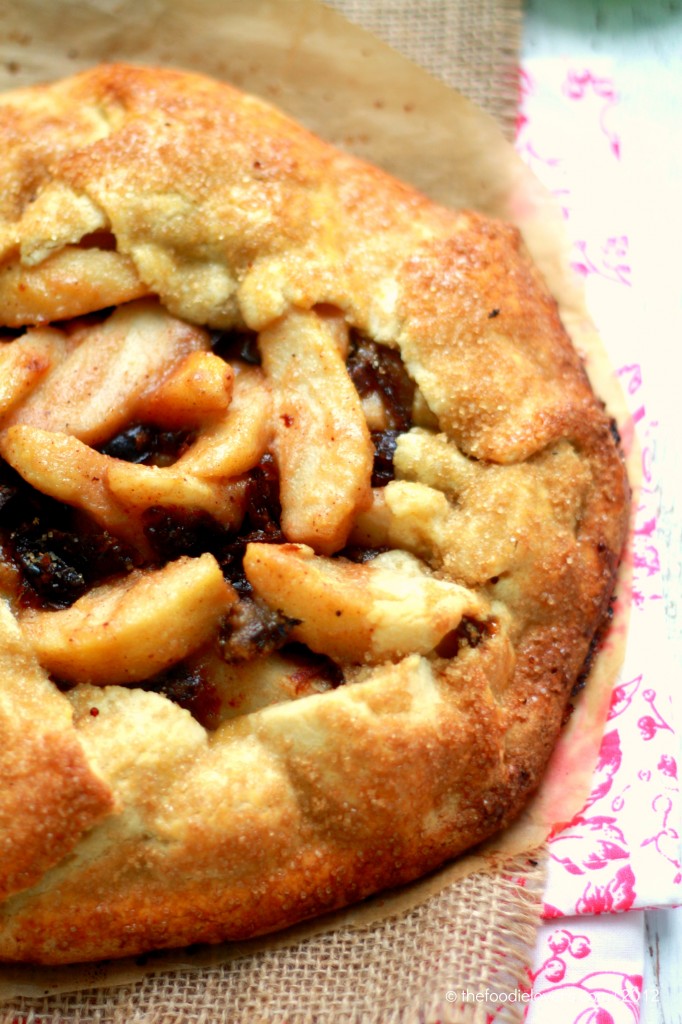
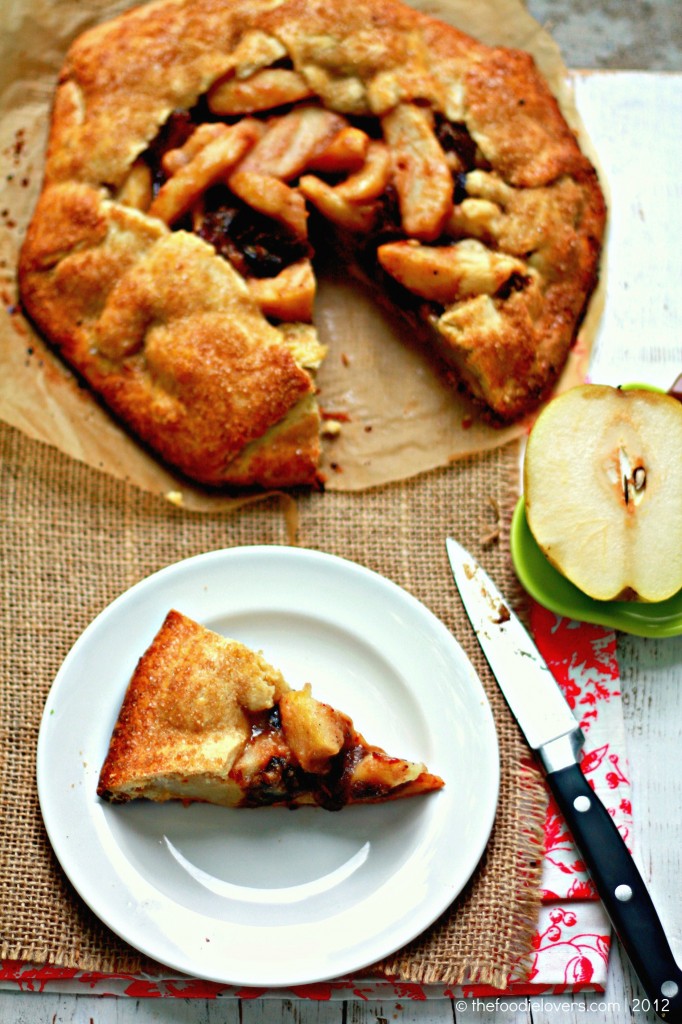
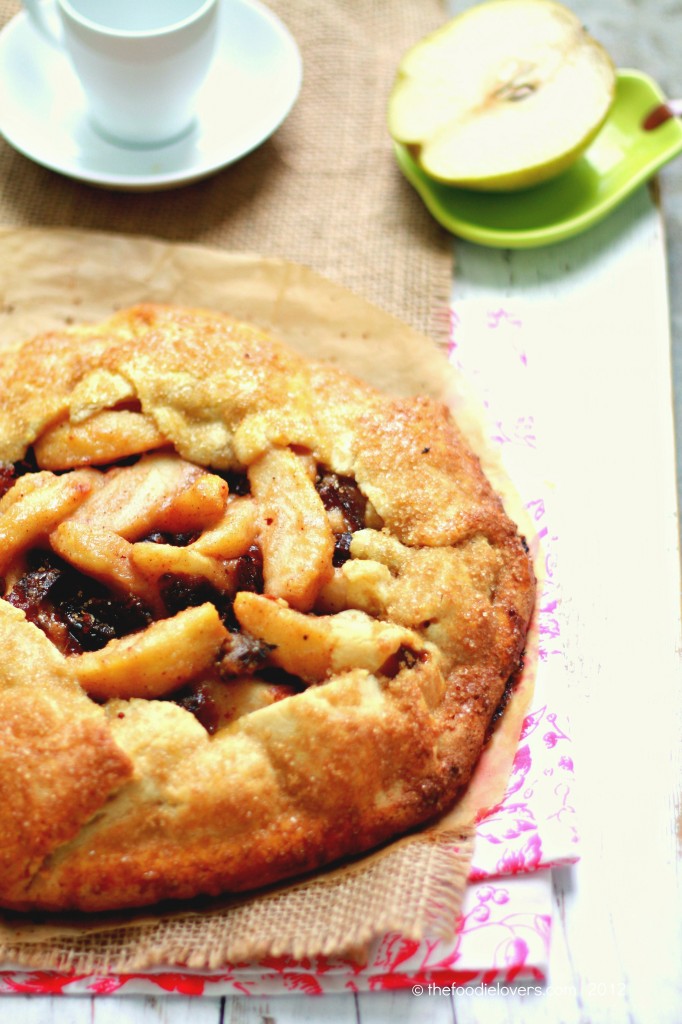
It has been a crazy week so far. Cooking/Baking relieves my stress as always. More often than not, my way of taking a break is to Bake:). As weird as it sounds,it totally works for me.I’ve been wanting to blog but had nothing concrete in my mind. There were some Pears and Bing cherries that needed attention. And I started with the Pear before they see off their better days. I had to decide between Clafoutis or Croustade. As a family we love anything crunchy and obviously the Croustade became the automatic choice. I did mention about the difference between a Croustade,Crumble and cobbler in my post.

I believe “king of dates” and “diamond of dates” are two nicknames for the medjool date. The dates are paired with pears and spices in a rustic, comforting dessert with an exotic flare.

PEAR AND MEDJOOL DATES CROUSTADE

Crust Ingredients:

1 ½ cups all purpose flour
½ cup granulated sugar( the recipe calls for powdered sugar)
1/3 cup cornmeal
10 tablespoons cold butter( cut into cubes)
1 chilled large egg,divided

Filling:

3 large Anjou Pears, peeled,cored each cut into 8 wedges
3 tablespoon sugar
1 tablsepoon all purpose flour
½ teaspoon cinnamon
½ teaspoon ground ginger
7 large medjool dates, pitted and torn into strips
1 ½ teaspoon turbinado sugar

CRUST: Blend flour,sugar,cornmeal and salt in a processor. Add butter,using on/off turns process until the mixture resembles a coarse meal. Add all but 2 tablespoon of butter( reserved for glaze),using on/offs turns,process until moist clumps form. Gather dough into a ball,flatten into a disk. Wrap in plastic and chill for 30 minutes.

FILLING: Preheat oven to 375F. Toss pear wedges with sugar,flour,cinnamon and ginger in a large bowl.Roll out the disc in between two parchment which is lightly floured to form a 14 inch round.Slide crust into a baking sheet,remove the top layer of parchment. Arrange 2/3 of pear mixture over crust,leaving about 2 inch plain border. Arrange date strips amongst pears. Top with remaining pear slices. Using parchment as aid,fold edges of crust up over pear mixture,creating border. Brush crust edge with some of remaining egg and sprinkle crust with raw sugar.

Bake until crust is golden brown and filling bubbles thickly in center,about 45 minutes to an hour. Cool until warm.

The filling was a little too sweet for me. The dates added to the extra sweet I guess. I would probably reduce the sugar by half the next time.

The crust was just perfect and the pear and dates paired together very well.

Nina
Bon Appetit!

Note: The above recipe was adapted from Bon Apetit Desserts by Barbara Fairchild

Related Posts Plugin for WordPress, Blogger...

Next Entries »

COPYRIGHT

MyFreeCopyright.com Registered & Protected

FAVORITE POST

Povitica Bread

Povitica - An East European Bread

Photobucket
BFS-logo
Proud member of FoodBlogs
my foodgawker gallery

SOCIAL MEDIA