The WHOLE GRAIN bug seems to have caught me too. It’s been a while that I have been thinking of switching to whole grains but somehow it never happened. A few weeks back while shopping at Whole Foods I was overwhelmed looking at different kinds of flours available there. I immediately bought - rye, spelt and buckwheat flour. With Rye flour, I baked a Raisin Rye Bread which never made it to my blog as we wiped it even before I could photograph it. With Spelt,I plan to make some biscuits – so watch out for this space:).
BUCKWHEAT is a very healthy grain with very high nutritional values. It has a strong and distinctive flavor, so not many prefer this flour. It’s usually grounded with the outer bran resulting in a rich grey/purple color with dark flecks. The black flecks/hull is the reason for its pleasant bitterness. Buckwheat is said to be something of an acquired taste.. Since I was working with it for the first time, I so wanted to like it - mainly because its healthy. With the flour, all I could think was to make Pancakes. Since I wanted to bake, I decided to go with the Scones.
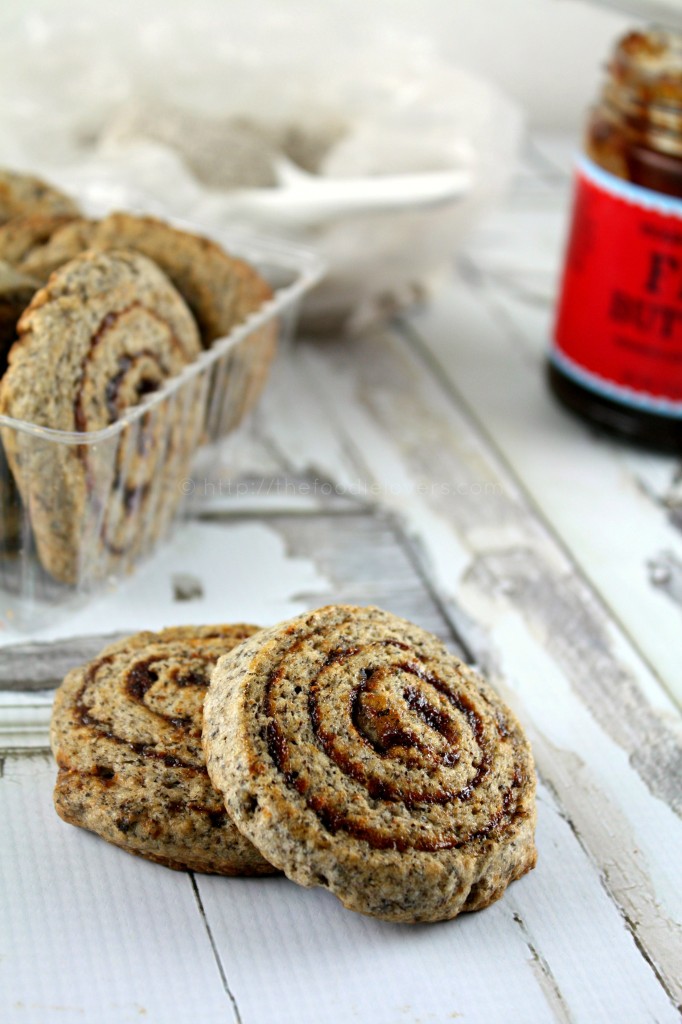
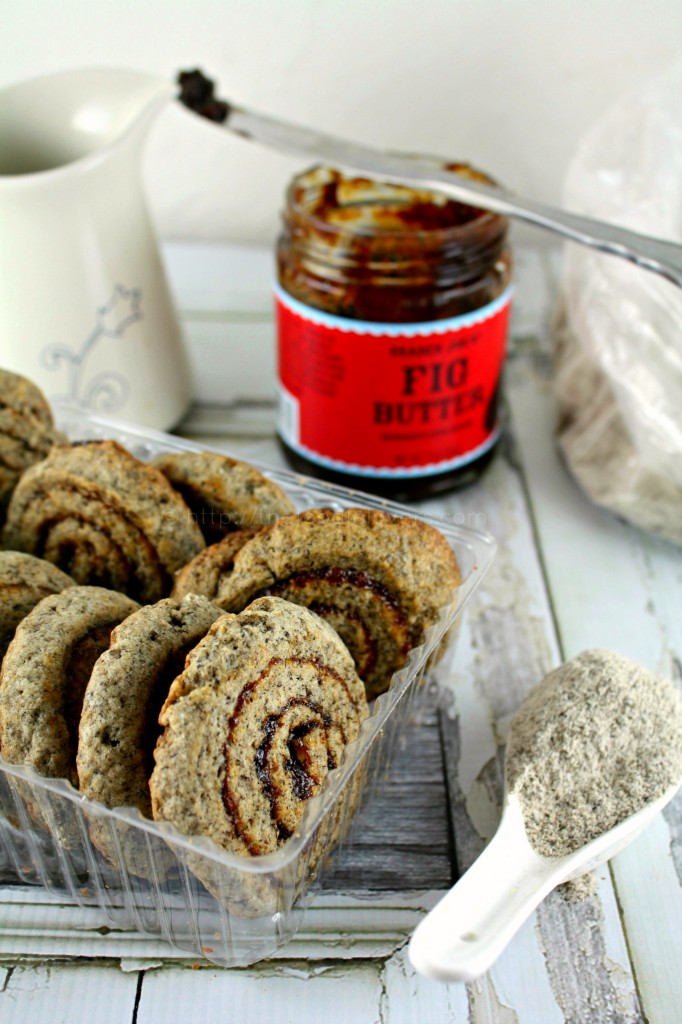
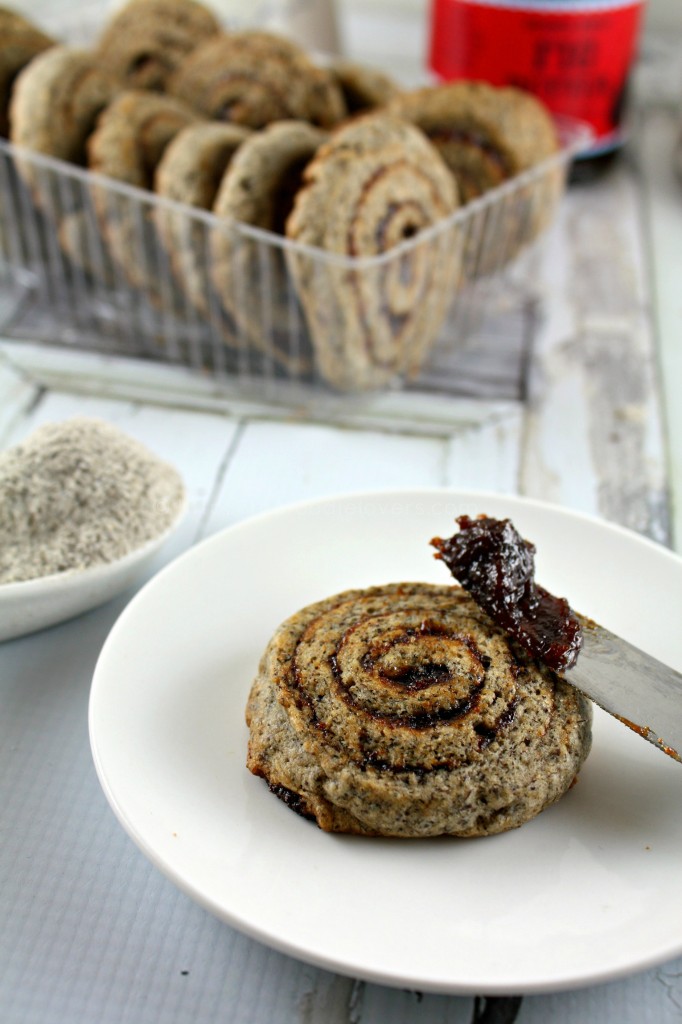
Also as it does not contain gluten, it’s very good for people with gluten allergies. If you are planning to introduce Buckwheat in your cooking, these Scones are the best way to start:). The scones tasted nutty and delicious. I didn’t have time to make the fig butter so picked up a bottle from Trader Joe’s. The fig butter and the buckwheat were meant to be together,they paired so well. I even spread a little on top of the baked scones….gosh it was heaven!!!
FIGGY BUCKWHEAT SCONES
Makes about 12
Ingredients:
Dry Mix – ½ cup buckwheat flour
½ cup + 2 tablespoon all-purpose flour
¼ cup sugar
1 teaspoon baking powder
¼ teaspoon salt
Wet Mix
4 tablespoon butter (cut into small pieces)
½ cup + 1 tablespoon heavy cream
½ cup fig butter ( or more)
Directions: Sift dry ingredients into a large bow, pouring back into the bowl any bits of grain or other ingredients that may remain in the sifter. Add the butter to the dry mixture. Rub the butter between your fingers,breaking it into smaller bits. Continue rubbing until the butter is coarsely ground and feels like grains of rice. The faster you do this,the more butter will stay solid,which is important for the success of this recipe. Add cream and gently mix it into the flour with a spatula until the dough is just combined.Using a spatula or pastry scrapper transfer the dough into a well floured surface. It will be sticky so flour your hands with the flour and pat the dough into a rectangle that is about 8 x 16 inches and 3/4 inch thick. I rolled it out a little too thin so ended up with 12 scones. Ideally for this recipe you should get about 6-8 scones. If at any time the dough rolls off in a different direction,use your hands to square the corners and pat it back into shape. As you’re running periodically run a pastry scrapper or spatula underneath to loosen the dough,flour the surface and continue rolling. This keeps the dough from sticking. Flour the top of the dough with flour if the dough is sticking. Spread the fig butter over the dough.Roll the long edge of the dough,patting the dough as you roll so that it forms a neat 16 inches long roll. Roll the finished log so that the seam is on the bottom and the weight of the roll seals the edge.
Using a knife,slice the roll in half. Put the halves on a baking sheet,cover loosely with plastic wrap and refrigerate for about 30 minutes( The dough can be kept covered in the refrigerator for upto 2 days).While the dough is chilling preheat the oven to 350F. Line the Baking sheet with parchment paper.
After 30 minutes,take the logs out and cut each half into slices about 1 1/4 inches wide. Place each scone flat ,with the spiral of the fig butter facing up. Give the scones a squeeze to shape them into rounds. Bake for about 35-40minutes,rotating sheets halfway through. The scones are ready to come out when their undersides are golden brown.
They are best eaten warm from the oven or later the same day. They start becoming a little soft after a day or so.
The above recipe was adapted from Good to the Grain book by Kim Boyce.
Bon Apetite!
Nina


I am on a whole grain kick as well! whole grain tortillas with all of my turkey wraps for lunch. and these scones are something I want every morning for breakfast with my coffee. I happen to LOVE fig butter - I slather it on whole wheat toast. So I can only imagine how much I’d love these!
sally @ sallys baking addiction recently posted..soft-baked monster cookies.
thanks Sally…oh i need to try the fig butter on a toast,didnt think abt it:). Also I love the idea of whole grain tortilla….oh wow too many tortilla recipes running in my mind now:)
I’m in the love buckwheat category and since I love figgy desserts, I know I would love this, and I could eat one right now.
angela@spinachtiger recently posted..Roasted Fettuccini and Broccoli
You too…nice to know.Thanks Angela:)
wow.. you take the most unbelievable pictures. well done. I really like the fig butter at TJ’s.. it’s different. Really great recipe.. never used buckwheat, will have to give it a shot. Looks pretty healthy too, minus the cream, but we’ll pretend it’s not there.

Honey What’s Cooking recently posted..Featured in the “The Food Lover’s Healthy Habits Cookbook” by Janet Helm!
Thank uou for your kind words. And yes lets pretend that the cream isnt there;-) lol!
Oh, marvelous! Thosr healthy scones must taste divine. I love the idea.
Cheers,
Rosa
Thanks Rosa. These were one of the best scones i’ve ever had:-)
I love the nutty flavors of whole grain baking! But don’t seem to use them enough. I happen to have buckwheat flour at home so I can’t wait to try out these scones!
Joanne recently posted..Recipe: Meyer Lemon Ice Cream {GIVEAWAY}
Thanks Joanne. Do try and let me know the outcome:-)
Nina, thanks so much for your comment, it’s a pleasure to return the visit and discover these wonderful scones! the fig spread looks delicious and I like the use of whole grain flour (it gives the dough such a beautiful brown colour!)
I’m sure I’ll come over again 😉
Helena / Rico sin Azúcar recently posted..“Snowballs” con chocolate, café y brandy
Thanks Helena for the kind words;-)
These look amazing! In the 10 years I lived in Germany I frequently baked with spelt flour. It’s a inexpensive (unlike here in the states) staple and readily available. I am curious about buckwheat flour. The pairing with fig sounds delightful and I love how your rolled them, they look so pretty!
Lora recently posted..Brown Sugar Persimmon Caramels
Thanks Lora. I haven’t tried working with spelt yet. I have bought some and yet to bake something out of it.
You had me at “fig butter”. What a great combo - buckwheat and fig - an oh-so pretty! I love the idea of a pinwheel scone.
Thank you Susan:) Fig butter is the best…i must say:!
Your baked goods always look so pretty, I love the spirals! I’ve gotten that Trader Joe’s Fig Butter before, it’s good. I’ve used it in recipes together with fresh soft cheese like goat cheese or mascarpone. I hope you keep enjoying your whole grain experiments.
Mary @ Fit and Fed recently posted..Greek Yogurt Honey Dressing
Thanks Mary.