Monthly Archives: March 2015

Print
Recipe

gOBI 1
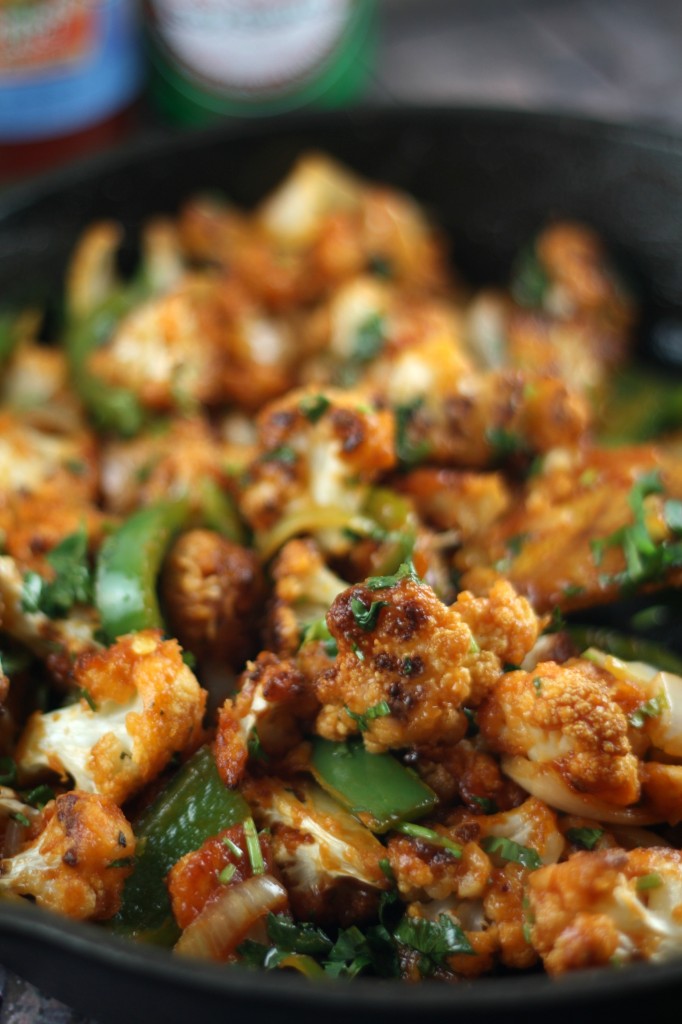
Learn how to make Gobi Manchoorian/ Gobi Manchoori

Gobi Manchoorian/ Manchoori is an Indo Chinese food which is quite popular in India. It is said to have been developed by the tiny Chinese community that lived in Kolkata for over a century. It is nothing but fried cauliflower tossed in a sweet and chili sauce. There are two different variants of it, dry and gravy. If I were frying I would use all purpose flour and cornstarch to make a thin batter; dip the florets in the batter and then deep fry. Once that is done follow the below mentioned sauce recipe. Few recipes even call for Ajinomoto (MSG) to increase the taste however I try to avoid it due to health reasons. Some add food colors to give the florets a bright red color, which is quite common in restaurants. I avoid that as well.
gOBI 2
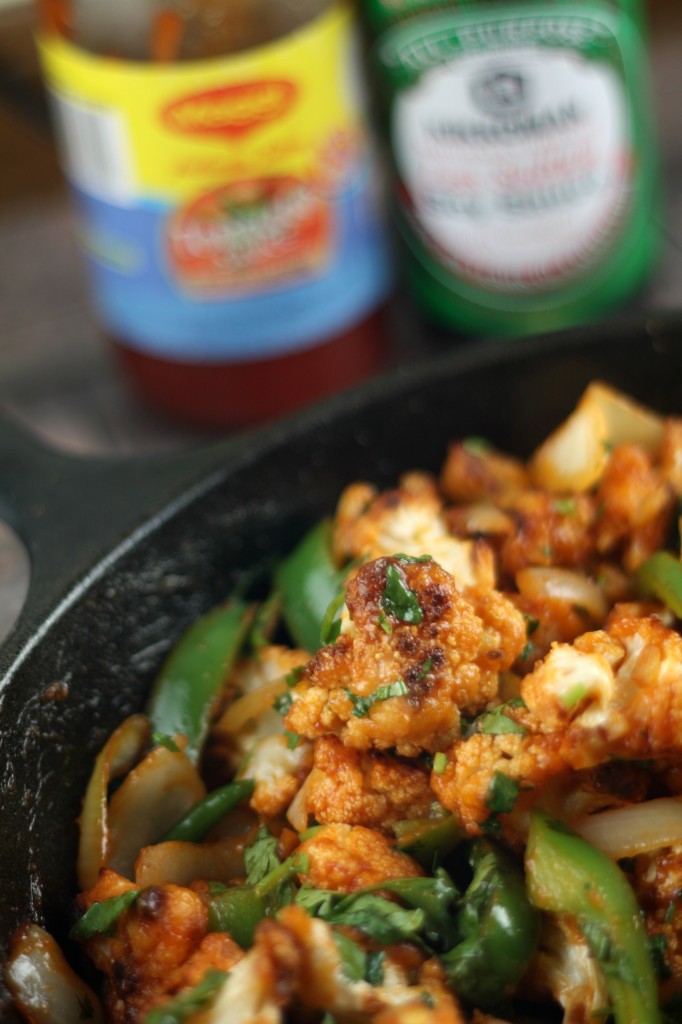
In the past I have baked the same dish using different flours - chickpea,all purpose and even whole wheat flour. The problem was it wasn’t as crispy as I had expected it to be also there would a thin layer of batter stuck in the base of the florets. This used to put me off. That’s when dusting cornstarch came to my mind. I actually used about 3-3.5 tablespoon of cornstarch. The cauliflower florets baked beautifully, ending with a crispy texture. But the only thing was I could feel the cornstarch even after baking ( I realized I added a lot).The next time I would work with 1.5-2 tablespoons only. I know fried ones are the best but I wanted to try something that I could enjoy whole heartedly without worrying about calories. Making junk food healthy is a very smart idea🙂 .
Gobi 3
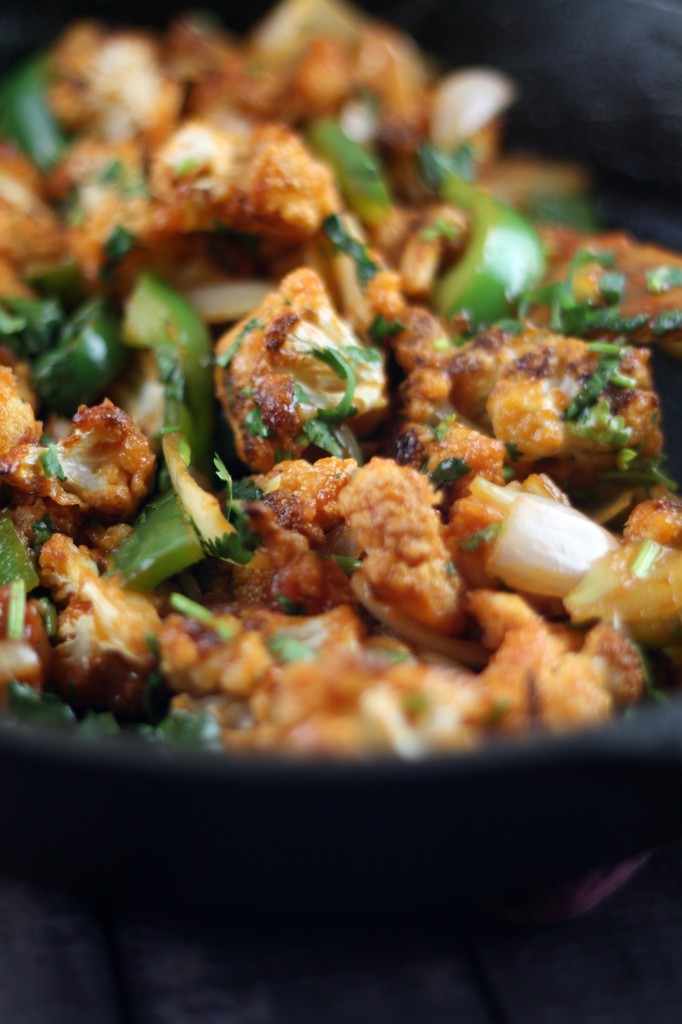
To me these tasted great, not as crispy as the fried ones but slightly close to it. Once they are coated in the sauce, I don’t see much of a difference. A good sauce is the key! If you plan to use them just as plain fritters, do season them with salt, pepper, cayenne and some turmeric (for the color) before baking. Also broil it for about 2-3 minutes towards the end to make it more crispier.

Baked Gobi Manchoori

Serving Size: 3

Baked Cauliflower with sweet and Chili sauce - healthy twist to a tasty junk food.

Ingredients

  • Baking Cauliflower
  • 1 large cauliflower, cut into florets about 5-6 cups
  • 2 tablespoon oil
  • 1-2 tablespoon cornstarch
  • For the Sauce
  • 1 teaspoon oil
  • 2-3 garlic pods, chopped
  • 1 teaspoon ginger, chopped
  • 2-3 thai green chillies, chopped
  • 1 onion, roughly chopped
  • ½ cup bell pepper, cubed
  • 2 tablespoon ketchup
  • 1 tablespoon soy sauce
  • Green chili/red chili sauce, as needed
  • 1 teaspoon lemon juice
  • 2 tablespoon cilantro , chopped
  • Salt as needed

Instructions

Preheat oven at 400F. Line a baking sheet with parchment. Cut the cauliflower into small florets. Wash and dry in a paper towel. Place all the cauliflower in a large bowl. Drizzle oil over the florets coating it well. Now add the cornstarch and toss it. Spread it evenly on the lined sheet. Bake for 20 minutes. Flip each floret. Increase temperature to 425F. Bake again for about 20 minutes. You will end with slightly crispy florets with a brownish tinge. Feel free to broil it for about 2 – 3 minutes for more crispier option, which I didn’t.

Sauce - Heat oil in a pan. Add garlic, ginger, chillies, onion and bell pepper. Saute until the onions turn pink. Do not overcook the veggies, do retain the crunchiness. Now add the ketchup and soy sauce. If you are using the chilli sauce, please add now( We don’t eat too spicy food, so I avoided the sauce). The mixture will start sizzling. Add the cauliflower,lemon juice and salt. Mix well. Garnish with cilantro.

http://www.thefoodielovers.com/2015/03/baked-gobi-manchoori/

If you are thinking of gravy please add some water mixed with very little cornstarch towards the end and then a quick boil will result in a semi gravy Manchoorian sauce. Serve as an appetizer or along with fried rice/noodles. Spring onions are a great choice too, if you have some handy do add it right at the end.

Enjoy guilt free!


Print
Recipe


tarte 3

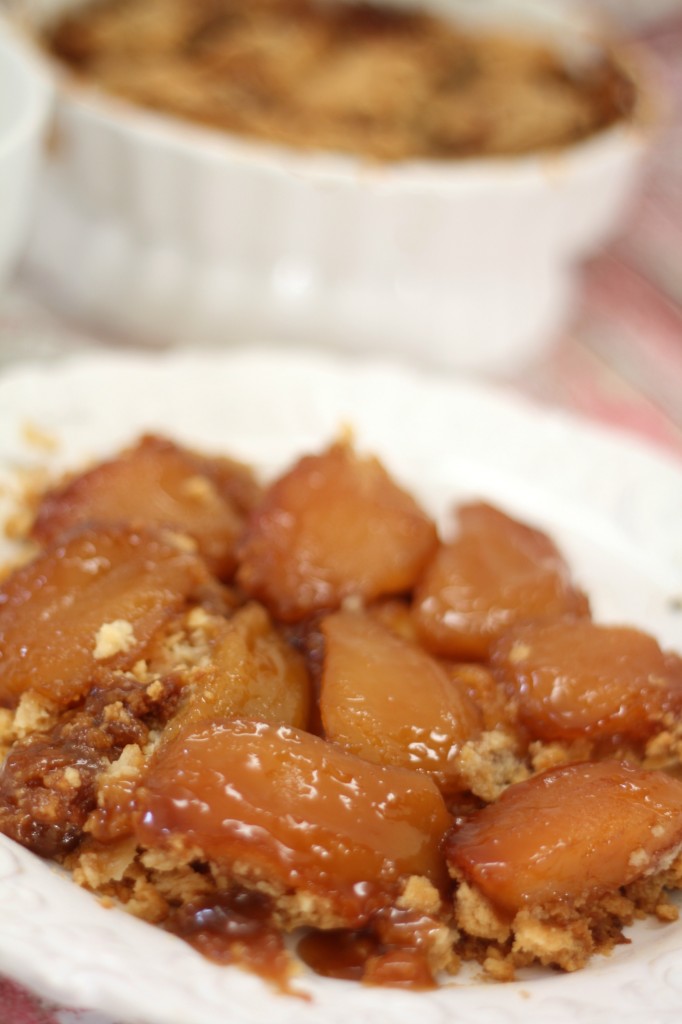
I baked this dessert almost three weeks back and completely forgot about the challenge date. For the March Daring bakers’ challenge, Korena from Korena in the Kitchen taught us that some treats are best enjoyed upside down. She challenged us to make a Tarte Tatin from scratch.

Tarte Tatin is usually baked in a large heavy bottom oven proof dish but if you don’t have one you can always use a regular baking pan. To do that first cook the filling in a pan and then transfer it to a baking pan( I used a pie plate). The best apples for Tarte Tatin can be either sweet or tart, but they should be firm Apples that hold their shape while cooking. You can use any of the following variety of Apples – Granny Smith, Fuji, Gala, Honey Crisp or Red Delicious Apples like I did. It’s quite a sweet dessert but the caramel does have lot of flavors in it. Be very careful while cooking the caramel as it boils quite vigorously.

Tarte tatin 1

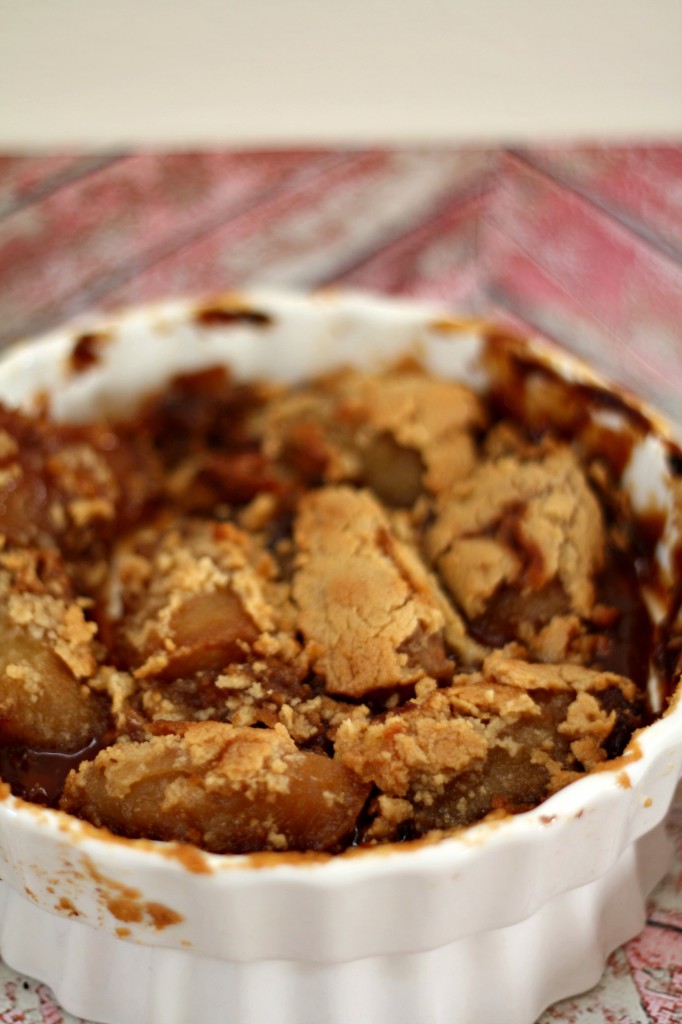
Somehow I messed up with the pastry crust. I was juggling with too many things while working on the flour. Surprisingly I didn’t require any water to make the dough; I felt something was wrong but still went ahead with the recipe. Later I realized that I didn’t measure the right amount of butter. My pastry dough had just flour and butter. I was too occupied and hurried up. The dough was way too soft which made it difficult to roll . Also as you can see above after baking my Tart didn’t have a proper crust. It crumbled completely. I am not happy the way my pictures turned out too. However the dessert was delicious. The flavors from the caramel, the taste of the apples both put together made me crave for more.

Tarte Tatin – Daring Baker’s Mar’15 Challenge

Serving Size: One single pastry crust : 8-10 servings

Stunningly delicious, rustic and simple dessert with the goodness of Caramel and Apples.

Ingredients

  • Rough Puff Pastry
  • 1 cup all-purpose (plain) flour
  • 2/3 cup unsalted butter cold
  • ¼ teaspoon fine salt
  • ¼ cup ice cold water
  • Tarte Tatin
  • 8-10 Ingredients 6 large or 7-8 medium-sized apples
  • Juice of half a lemon
  • 6 tablespoons unsalted butter (or use salted and skip the salt)
  • 1-1/3 cups granulated sugar,
  • pinch salt

Instructions

Rough Puff Pastry - In a medium bowl, combine the flour and salt. Cut the butter into small cubes and add it to the flour. With a pastry blender (or two table knives) cut in the butter until the mixture is crumbly but even, with pea-sized pieces of butter. Make a well in the middle and pour in the ice cold water. Toss the flour/butter and water together with a fork until the dough starts to clump together. Turn the dough out onto your work surface – don’t worry if there are still pockets of dry flour. Gently knead and squeeze the mixture a few times just enough to bring it together into a square (a bench scraper is helpful for this). Be careful not to overwork the dough: there should be visible bits of butter and it should still look very rough. Lightly flour your work surface and rolling pin, and roll the dough out into a rectangle about 10” (25 cm) long. Fold the bottom third of the dough up into the middle, and fold the top third down, like you are folding a letter. This is one fold. Turn the dough a one quarter turn so that one of the open edges is facing you, and roll out again into a 10” (25 cm) rectangle. Fold again - this is the second fold. Repeat the rolling and folding 3 more times, for 5 folds total. Your dough will get smoother and neater looking with each fold (the pictures show the first and fifth folds). If your kitchen is very warm and the dough gets too soft/sticky to do all the folds at once, chill it in the fridge for 20-30 minutes between folds. After the fifth fold, use your rolling pin to tap the dough into a neat square. Wrap the dough in plastic and chill for a least 1 hour, or overnight

Tarte Tatin

Peel the apples and cut them into quarters. Remove the cores in such a way that each apple quarter has a flat inner side: when placed rounded side-up, it should sit on a flat base. Place the apples in a large bowl and toss with the lemon juice and 1/3 cup sugar. This will help draw out some of the moisture from the apples and prevent an overly runny caramel. Set aside for 15 minutes.

Preheat the oven to moderately hot 375?F. Melt the butter in a very heavy, 9” or 10” oven-proof saucepan over medium heat, sprinkle with the remaining 1 cup sugar. Stir with a whisk until the sugar melts and becomes a pale, smooth caramel. The sugar will seem dry and chunky at first and then it will start to melt and smooth out. If the butter appears to separate out from the caramel, just keep whisking until it is a cohesive sauce. Remove from the heat. Discard the liquid that has come out of the apples, then add the apple quarters to the caramel, round side down. They won’t all fit in a single layer at first, but as they cook they will shrink a bit. Cook over medium heat for 15-20 minutes, pressing down gently on the apples with a spoon to cover them in the caramel liquid. Move the apples around the pan gently so that they all cook evenly, trying to keep them round side down. When the apples have shrunk enough to mostly fit in a single layer and are starting to soften but still keep their shape, remove the pan from the heat. With a wooden spoon, arrange the apples, round side down, in a single layer of concentric circles covering the bottom of the pan. Set aside until the filling stops steaming before covering with pastry.

Remove the pastry from the fridge, roll it out on a lightly floured surface, and trim it into a circle about 1” in diameter larger than your saucepan. Lay it over the filling, tucking in the edges between the apples and the sides of the pan, and cut a few steam vents in the pastry. Place the saucepan on a rimmed baking sheet (just in case the filling decides to bubble over the sides) and place in the preheated moderately hot 375?F.

Bake for 30-35 minutes, until the pastry is puffed and golden brown, increasing the oven temperature to moderately hot 400?F during the last 5 – 10 minutes of baking if the pastry isn’t browning properly. Remove from the oven and let sit just until the caramel stops bubbling. Immediately place a serving platter (slightly larger in diameter than the saucepan) over the pastry. Wearing oven mitts, grab hold of the saucepan and platter and quickly invert everything to unmold the Tatin onto the platter. If any of the apples stick to the pan or come out of place, rearrange them with a spatula. The tarte Tatin can be served warm from the oven or at room temperature. Suggested accompaniments include vanilla ice cream, whipped cream, or crème fraiche.

http://www.thefoodielovers.com/2015/03/tarte-tatin-daring-bakers-mar15-challenge/

According to Korena - While Apples are the standard , the technique of caramelizing the fruit and topping with pastry can be used with fruits like pears or even mangoes. I believe the tart is named after the Tatin sisters who ran a hotel near Paris in the 1880s. Apparently, one day one of the sisters forgot to put a bottom crust on her apple pie, but instead of the disaster she was expecting to pull out of the oven, she ended up with a dessert so loved by the hotel guests that it became the hotel’s signature dish. However, this sweet story conflicts with the fact that a similar upside-down apple tart called Tarte Solognotte (named after the Sologne region in France) existed long before the tarte Tatin, suggesting that the Tatin sisters’ creation was actually just an updated and improved version of the Tarte Solognotte. Tart Tatin recipe was adapted from Smitten Kitchen and Orangette; Rough Puff Pastry recipe from Chocolate and Zucchini.

Thanks Korena for a great challenge. I will work on my pastry dough again and make a perfect Tarte Tatin!

Enjoy!

Print
Recipe

rolls 1

Aparna’s pick for March’s Bread was simple rolls called the Kummelweck Rolls(Kimmelweck Rolls).They are made from basic ingredients – flour,yeast,milk,honey ,egg white and oil. Kummelweck is a hard roll with a crusty top sprinkled with sea salt and caraway seeds. I believe they are German in origin. Kummel means “caraway” and weck means “roll”.
roll 8
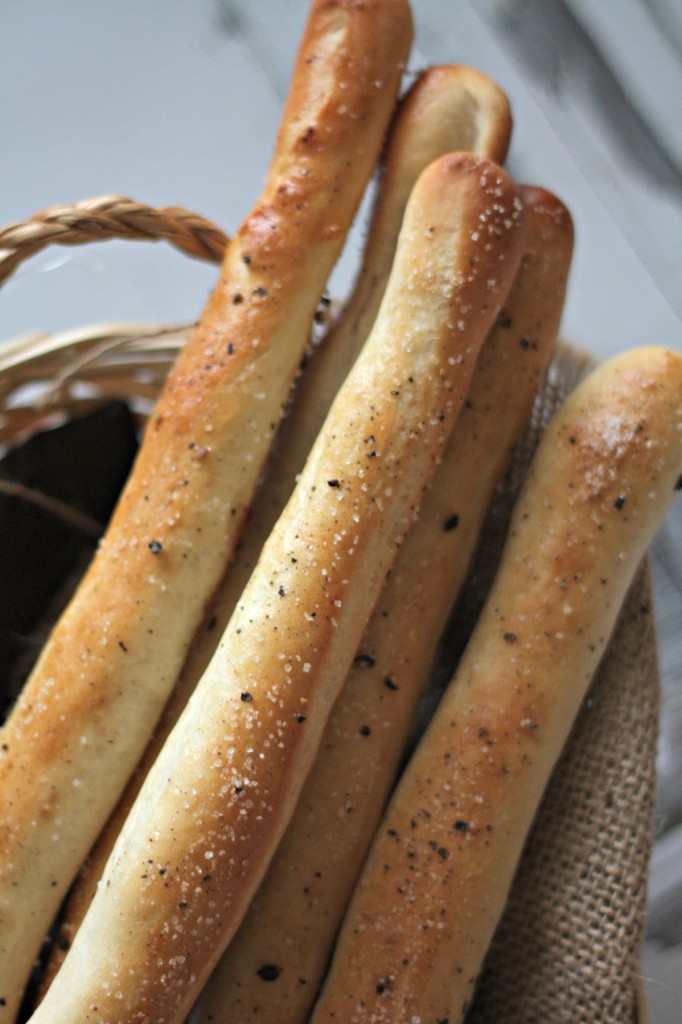
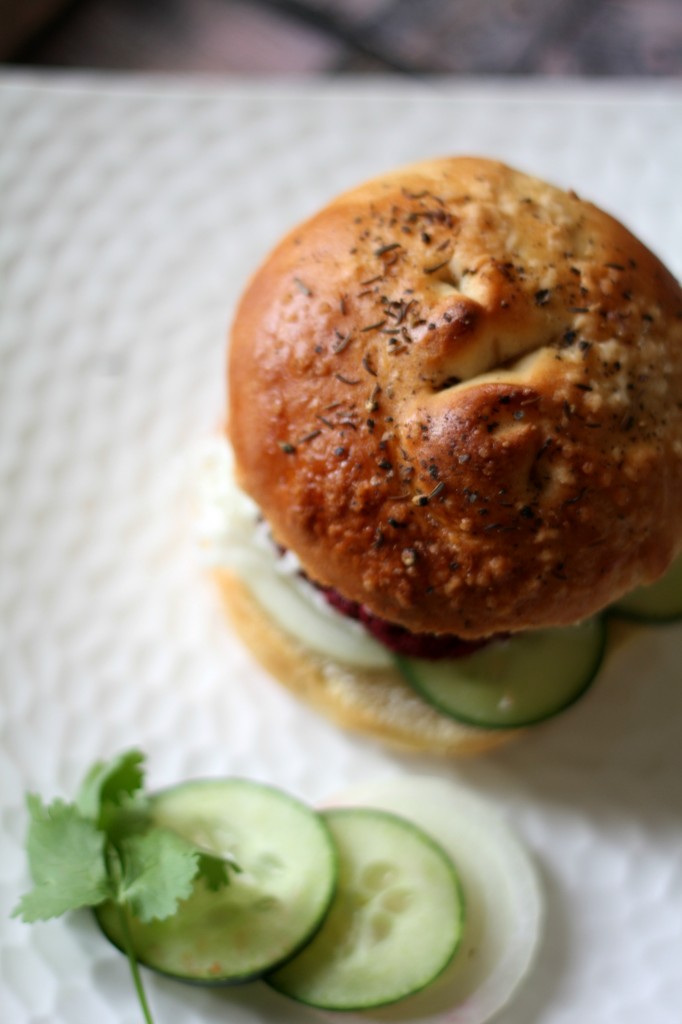
These rolls are great for Sandwiches or Burgers.They are best eaten fresh ; soft inside and crusty outside. The below mentioned recipe makes eight large burger bun sized rolls. I made four buns and six Salt & Pepper sticks.
roll 10
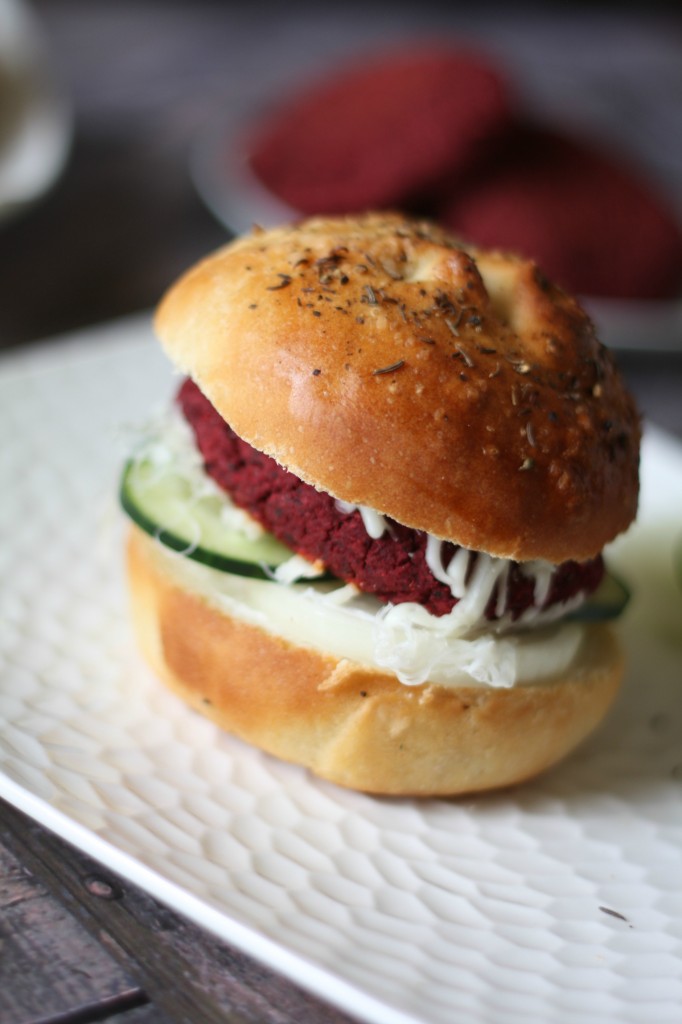
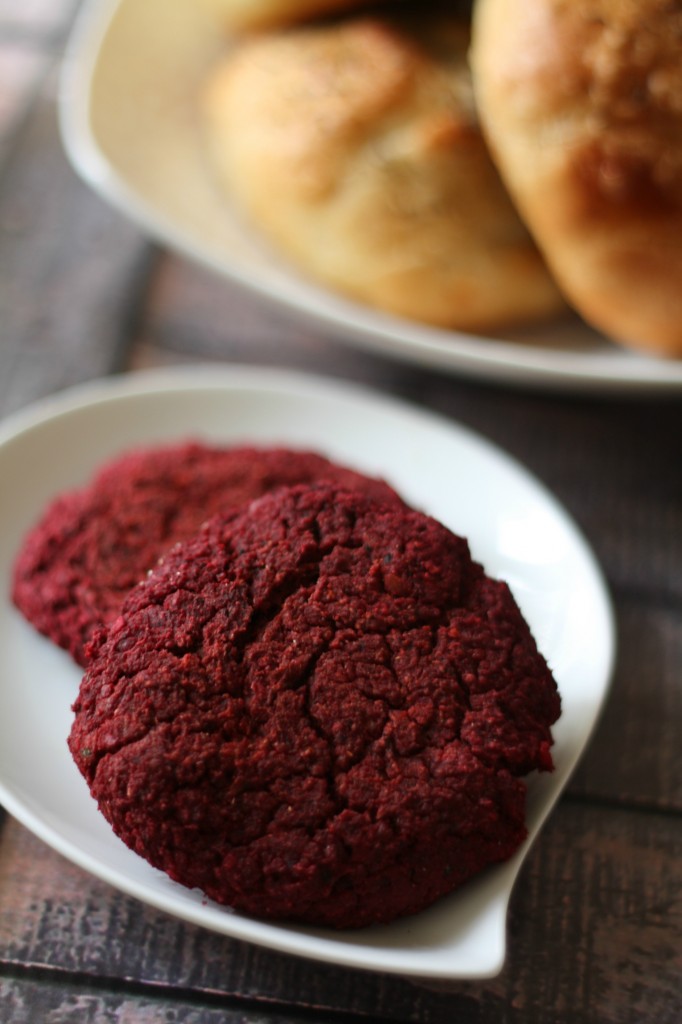
I used the buns to make a simple Burger with Beets & Chickpeas Patties. I wanted to keep the patties as healthy as possible. So I pureed a can of chickpeas in my food processor along with cooked Beets, cilantro, garlic, salt and cayenne pepper. I also added some cumin and coriander powder for flavour. Since it was a bit sticky I added some chickpea flour. I should have actually pan-fried the patties with a little oil, that way I could have retained the moisture and juiciness from the beets.Baking made them slightly dry.
roll 11
This recipe is adapted from - Adapted from http://www.jewishfood-list.com/recipes/bread/rollskimelweck01.html

Kummelweck Rolls, Salt and Pepper Sticks, Baked Beets and Chickpea Burger

Yield: 8 large buns or 12-13 salt and pepper sticks.

Ingredients

  • 2 1/2 teaspoon active dry yeast
  • 1/2 cup warm water
  • 1/2 cup warm milk
  • 2 tablespoon oil
  • 1 tablespoon honey
  • 1 egg white (optional)
  • 1 1/2 teaspoon salt
  • 3 to 3 1/4 cups bread flour*
  • Egg wash (optional)
  • Coarse sea salt and caraway seed
  • Beets and Chickpea Patties
  • 1 – 14oz canned garbanzo/chickpeas
  • 3 beets, cooked and grated
  • 2 garlic cloves
  • ½ cup cilantro,chopped
  • Salt,cayenne pepper,coriander powder, cumin powder
  • ½ cup chickpea flour or more as needed
  • Cooking spray/oil for baking /panfrying

Instructions

*To substitute for bread flour add 1 tablespoon of vital wheat gluten to 2 to 3 cups of all-purpose flour.

Mix together the warm water and the warm milk and stir in the yeast. Let it sit aside for about 5 minutes. Knead by hand or with the machine.

In the bowl of your machine, combine the yeast mixture, oil, honey, the egg white and stir.

Now add the salt and about 2 1/2 cups of flour and knead, adding as much more flour as required till you have smooth and elastic dough that is tacky but not sticky. Shape the dough into a ball, and place it in an oiled bowl. Cover loosely with cling film and let rise for about an hour, until it is almost double in volume.

Deflate the dough well (not kneading), shape into a round and and allow it to rise, covered, for 30 minutes more.

Divide the dough into 8 equal pieces and shape each into a smooth ball, then slightly flatten it. Place them on lightly greased or parchment lined baking sheets. Spray or lightly brush with oil, loosely cover and let the dough rise for 30 more minutes. Brush with eggwash (or something else that will make sure the topping sticks when baking), then cut slits ( like an +) on the top using a sharp blade or scissors.

Sprinkle the top of the rolls with sea salt and caraway seeds, and then mist with water. Bake the rolls at 425F for 5 minutes and then quickly mist with water again making sure you don’t keep the oven door open for too long. Bake for another 20 minutes or so until they’re brown and done. Cool on a wire rack. This recipe makes 8 large burger bun sized rolls.

If you would also like to try something different with this dough you can make a Vienna Loaf or Slat & Pepper Sticks according the recipes given below.

For the Vienna Loaf:

Follow the above recipe but with the following changes –

After the second rise, divide the dough in half and shape each half into an oval with tapered ends. After the final rise, apply the egg wash and then slash the top with a 1/2" deep lengthwise slit. Leave out the salt and caraway seeds. Bake at 400F for about 35 minutes, including the 5 minutes after spritzing with water.

For the Salt and Pepper Sticks:

Again follow the above recipe for the rolls, but make the following changes –

Leave out the second rise and do only the first rise. After that, divide the dough into 13 equal pieces. Roll each piece out into a 12" rope of even thickness, and place them 1-1/2" apart on the greased or lined baking sheet. Let them rise now. Apply the egg wash, but do not make any cuts. Sprinkle with coarse sea salt crystals and coarsely ground or cracked black pepper. Do not spritz with water and bake for about 15 to 20 minutes.

For the Patties:

Place the chickpeas in a food processor along with garlic and cilantro. Coarsely grind this mixture. Add the remaining ingredients except the chickpea flour ;pulse it until it comes together. Take this mixture in a wide bowl, add the flour. Mix everything and shape into six patties. Pan fry them with cooking spray/oil. I baked them at 375F for about 30 minutes (flipping in between).

http://www.thefoodielovers.com/2015/03/kummelweck-rolls-salt-and-pepper-sticks-baked-beets-and-chickpea-burger/

The Salt and Pepper Sticks make a perfect snack. My little one loved them.I also sprinkled some crushed pepper on the buns for an extra kick:)
Just when you are about to serve Slice the buns into half, spread some mayo on the bottom. Place sliced onions, cucumber, tomatoes, one patty, Cheese slice and close it with the other half. Enjoy!

Nina

Related Posts Plugin for WordPress, Blogger...

COPYRIGHT

MyFreeCopyright.com Registered & Protected

FAVORITE POST

Povitica Bread

Povitica - An East European Bread

Photobucket
BFS-logo
Proud member of FoodBlogs
my foodgawker gallery
Manage your shopping list and search for recipes from across the web at ZipList.com

SOCIAL MEDIA

ARCHIVES

Blogroll