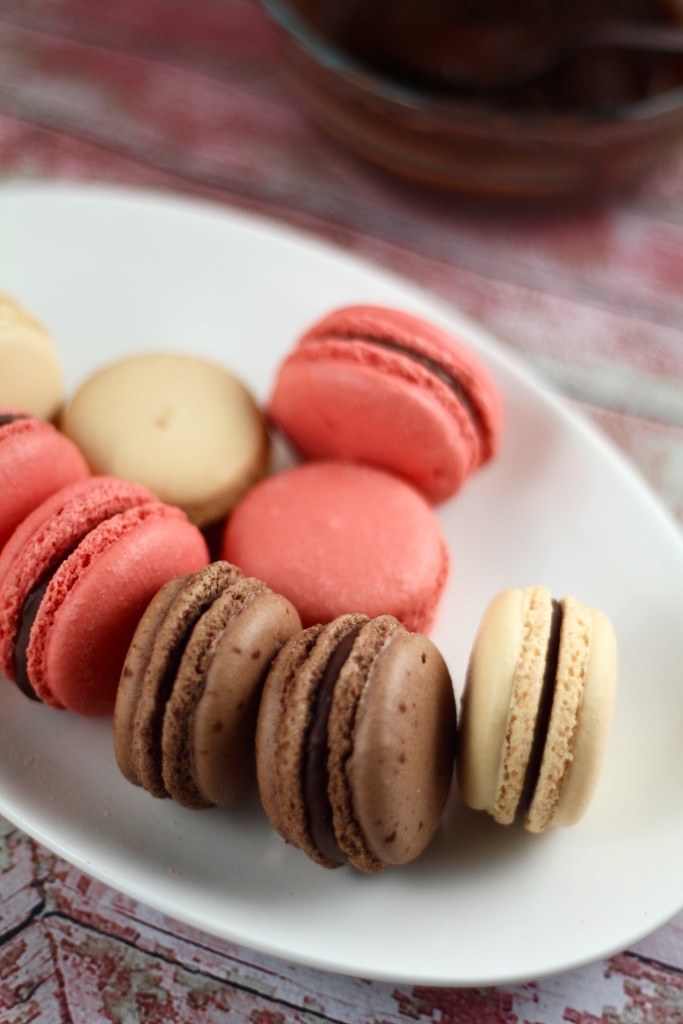
For the month of October we got to take on one of many bakers’ deepest, darkest kitchen nightmares : macarons. Our talented bakers Korena from Korena in the Kitchen and Rachael from pizzarossa made the intimidating task of mastering these French beauties a breeze.
If anyone had ever asked me what is the one thing that I cannot bake? My immediate answer would have been Macarons for a very long time. Few months back I attended a workshop on Macarons by chef Michael Solovay. I finally learnt all the tricks and techniques, mastered the art of Macaron making:).
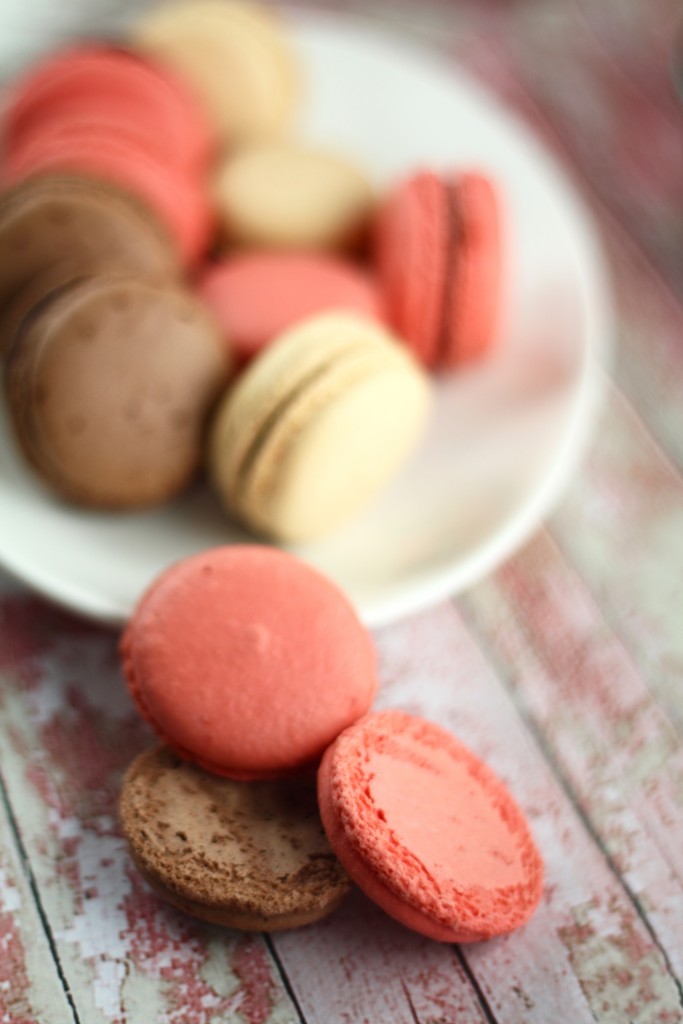
For this month’s Daring Baker’s challenge, it was mandatory to bake French macarons shells using either the French meringue or Italian meringue method, along with a filling of our choice.
I was happy to make some for this month’s Daring Baker’s Challenge. I am adding all the notes from Korena and Rachael here. The original recipes for both macaron methods are in grams. Because macarons rely on specific ratios of almonds to powdered sugar to meringue, we recommend using weight rather than volume measurements, which are much less accurate. (Korena says: About those oddly specific amounts in the French meringue recipe – I tried rounding them to more regular numbers, and the macarons failed. An extra gram or two does make a difference!).
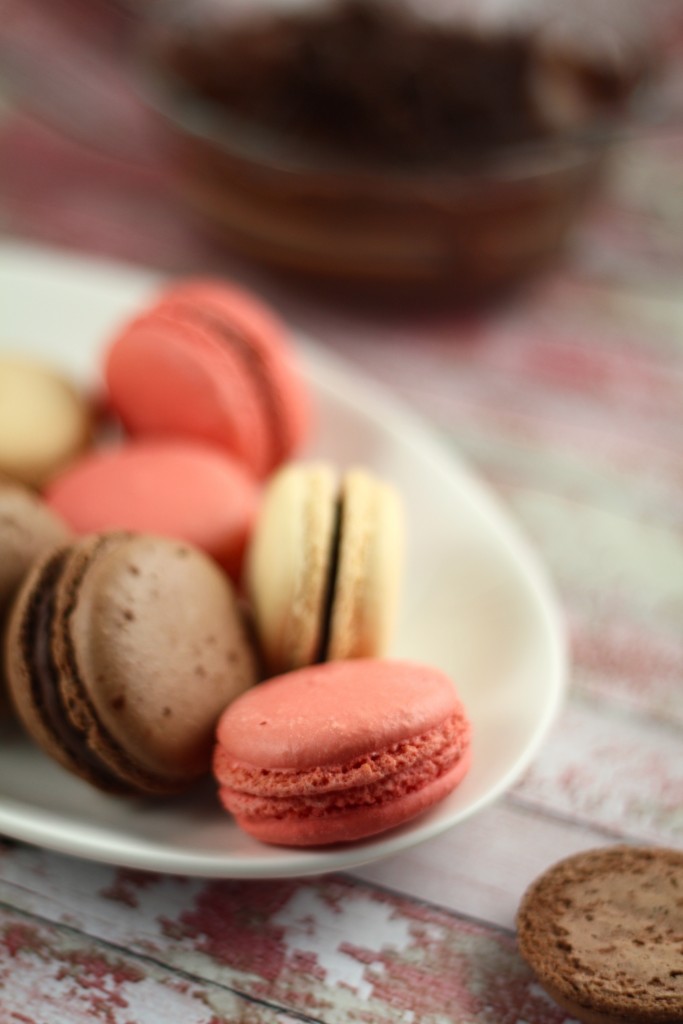
Many sources recommend aging your egg whites when making macarons, but neither of them have ever found it necessary for either method. The only stipulation is that the egg whites should be at room temperature (this helps them whip to maximum volume).
Regarding almonds - you can use ground almonds with or without the skins on, but they both preferred using clear ground almonds (no skins) for the look. If you can’t buy ground almonds locally, you can grind them yourself. Just don’t use an almond flour which is very fine and powdery – ground almonds are gritty when rubbed between your fingers. You will grind them further with the powdered sugar. Almonds can be substituted for other nuts or seeds, however their oil content can change the way the batter behaves, so it’s probably best to use almonds on your first try, and then play around once you’re confident in your macaron skills.
Some thoughts on food coloring - Whether you use it or not is entirely up to you, but if you do use it, what you use will determine how much you use and the method you use will determine when you add it. You should only use gel or powder - avoid liquid food coloring, as it can add too much moisture to the mix. With the Italian meringue method, Rachael prefers to add coloring or flavoring at the almond paste stage. This is mostly because it is easier to see the difference in color when folding in the meringue. You can add it to the meringue, though, as you prefer. For the French meringue method, gel color can be added to the meringue OR when folding in the almond mixture, whereas powdered color can be added to the ground almond mixture. Both recipes include instructions on when to add color. Remember, though, that after you add coloring to one part, you will dilute the color when combining the two parts. Flavorings such as vanilla bean seeds can also be added at these same stages.
Baking the macaron shells: Though you can use a parchment paper, my personal choice is a silicon mat. Try both and see what works best for you. And speaking of baking sheets, some bakers use a double or triple stack of baking sheets to help insulate the macaron shells as they bake. This might be a useful technique if your oven runs hot or heats unevenly.
Rachael says: I would like to clear up the misconception floating around the interwebbies that macarons made with the Italian meringue method aren’t “real French macarons” (yes, I have been told this on social media). In fact, neither method is more “French” than the other, they are just variations on a theme. Just like Ladurée and Pierre Hermé, I use this method because I find that it gives more consistent and reliable results. So go ahead and use whichever method suits you best!
Korena says: Egg whites and meringues can be temperamental – if there is even a trace of oil, fat, or egg yolk in the bowl or on the beater, it can prevent the egg whites from whipping to a stiff peaks. For this reason, when separating your eggs, be very careful not to get any yolks in with the whites. One trick I always use to ensure meringue success is to wipe my already-clean bowl and beater or whisk with a vinegar-moistened paper towel: this eliminates any grease, and the little bit of acid helps the egg whites turn into a meringue more readily.
Ingredients
- 112g / 4 oz ground almonds
- 204g / 7 oz powdered (confectioner’s) sugar
- 102g / 3.5 oz egg whites (from approx. 3 eggs)
- 51g / 1.75 oz granulated (white) sugar
- Optional:
- Replace 20g / .7 oz of the powdered sugar with unsweetened cocoa powder
- The seeds of 1 vanilla bean
- A few drops of non-oil-based essence
- A few drops of gel food coloring or a pinch of powder food coloring
Instructions
Line 2 large baking sheets with parchment paper on top of the piping guide, and set aside.In the bowl of a food processor, combine the ground almonds and powdered sugar, and pulse until completely combined and homogeneous. If you are using powdered food coloring, combine it with the almond mixture.Sift the mixture onto a bowl, then return any large bits left in the sifter to the food processor and pulse again until very fine. Set aside.
Place the egg whites in a scrupulously clean (free of any oil or egg yolks) large bowl or the bowl of an electric mixer. Whisk on medium speed until frothy, then very gradually add in the granulated sugar. Once all the sugar is added, increase the sped to medium-high and continue beating the egg whites until they form a stiff-peaked meringue (the peaks should not flop over). Don’t over mix or allow the meringue to become dry or chunky. Before the meringue reaches stiff peaks, you can mix in a few drops of paste food coloring or some vanilla bean seeds.
Add half the almond mixture to the meringue and fold vigorously with a spatula, using about 15 strokes to combine and break down the meringue so it is not so puffy (you can also add paste food coloring here if you haven’t already added it to the meringue. At this stage, I added the seeds scraped from 1 vanilla bean). Make sure you scrape the bottom and sides of the bowl as you fold so that the dry ingredients are all incorporated.
Add half the remaining almond mixture and fold again with about 10-15 strokes, until just combined. Add the remaining almond mixture and fold again, 10-15 strokes, until just combined. The mixture should fall from the spatula in long, thick ribbons, like slow-flowing lava, and the surface of the mixture should smooth out within 30 seconds.
Scoop the mixture into a large piping bag (only use half the mixture at a time) fitted with a large round tip or plain coupler, and pipe into the prepared baking sheets, using the piping template as a guide. Pipe straight down so that mixture comes out in a round blob – it will smooth and spread out on its own. I usually get one full pan of 28 circles and a second with about 20.
Lift the baking sheet up about 5cm / 2 inches and keeping it perfectly level, firmly bang it down on your work surface to dislodge any large air bubbles. Set the piped shells aside to dry for 30-60 minutes, until a skin has formed on the surface and they are no longer sticky to the touch.
Preheat the oven to 275?F. Bake the shells, one baking sheet at a time, in the top third of the oven for 12-16 minutes, during which time they should sprout feet (if you used cocoa in the shells, they may need an additional 2 minutes of baking time). To test the shells, gently tug on the top – if they jiggle at all, bake for another 1-2 minutes. Once baked, they should peel cleanly off the parchment paper. I get best results when I bake them for 10 minutes, then rotate the sheet and bake for another 2-6 minutes, checking for doneness every 2 minutes. I also find that my first batch always takes a few minutes longer than the second, for whatever reason!Allow the shells to cool completely on the parchment paper, then peel off and store in an airtight container, layered between wax paper, at room temperature or in the freezer (NOT the fridge) until you are ready to fill them. Once filled, they should still be kept in an airtight container and can be refrigerated or kept somewhere cool. It’s best to let the filled macarons mature for at least 1 day before eating.
http://www.thefoodielovers.com/2015/10/macarons-daring-bakers-october15-challenge/According to a “perfect macaron” article that Rachael read, the ideal ratio of shell to filling is 2:1. That is, the filling should be about the same thickness as one shell. That’s pretty much the ratio we go with, and the easiest way to achieve that is to go by how much is in the piping bag. Fill the bag twice for piping the shells, so fill it once for piping the filling.
Thanks Korena and Rachael for the great challenge!
Enjoy!





Beautiful macarons!
Beautiful looking macarons! Bet they taste delicious!
marcellina recently posted..Brandied Fig and Caramelised Honey Macarons
They are just beautiful! Thank so much for baking with us 🙂