Category Archives: Wholegrain

Print
Recipe

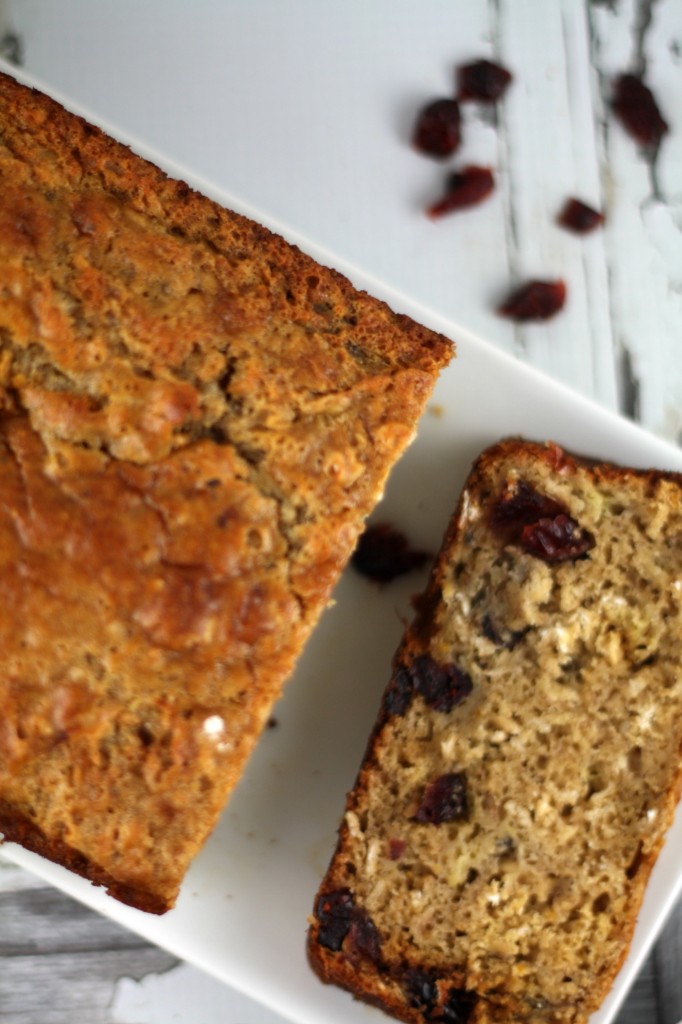
Banana Bread 1
I ran out of WHITE flour.Something that’s never happened before thanks to all the baking I’ve done in the past.Realized it only when I had to bake “Sheermal” a few days back. I barely had a cup of flour so had no choice but to halve the recipe.Of late I have made a switch to whole grains. On any given day you will always find Whole Wheat, Amaranth flour,Quinoa flour,coconut flour,Sorghum etc at home. I resort to white flour only when participating in blog events. I am so glad I made this change as I feel a lot satisfied and enjoy these baked goodies without any guilt.
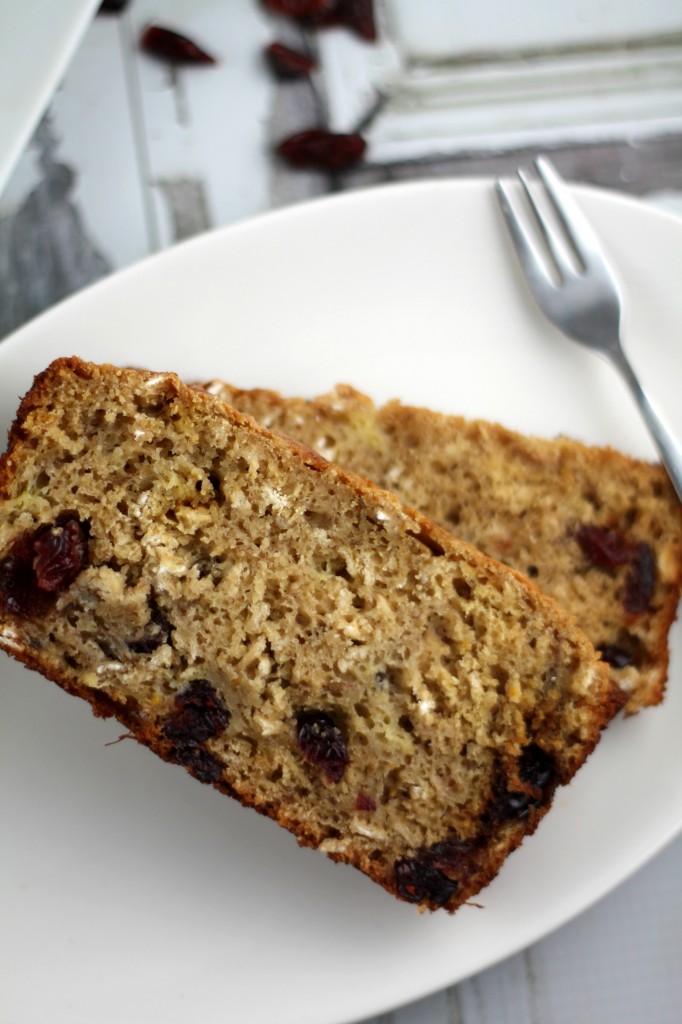
Banana Bread 2
When you have overripe bananas…you make Banana Bread. Don’t we all? I made my Banana Bread with organic whole wheat pastry flour( I love the 365 brand from whole foods), oats,brown sugar, eggs and cranberries. It was moist and slightly dense.
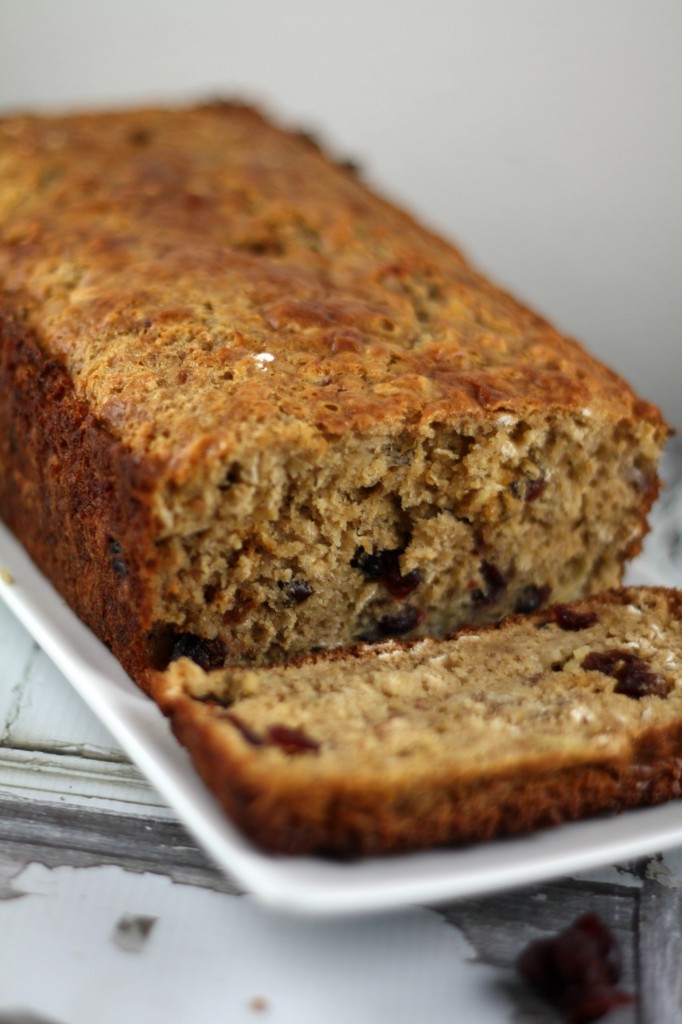
Banana Bread 3
Cranberries are a great addition to this bread… they add to the sweetness . I have made a similar bread with Amaranth flour but felt it wasn’t sweet enough, so this time I added two extra tablespoon of brown sugar to this recipe. But after tasting the bread I realized that it was not required, the cranberries do the trick.

Whole Wheat Banana Cranberry Oat Bread with Greek Yogurt

A wholesome bread with the goodness of oats,wheat flour, bananas and cranberries.

Ingredients

  • 1 ¼ cup whole wheat pastry flour
  • ½ cup old fashioned oats dry
  • 2 teaspoon baking powder
  • ½ teaspoon baking soda
  • a pinch salt
  • 2 large ripe bananas, mashed
  • 2 large eggs
  • ½ cup + 2 tablespoon brown sugar
  • ¼ cup nonfat greek yogurt, plain
  • 2 tablespoon canola oil
  • ½ cup dried cranberries
  • 1 teaspoon vanilla extract(optional)
  • a teaspoon orange zest (optional)

Instructions

Whisk together flour, Oats, baking powder, baking soda and salt. Set aside. In another large bowl mix banana, egg, sugar, yogurt and oil. Add in the cranberries. Stir gently the banana mixture to the flour mixture until just combined. Do not over mix the batter. Pour batter into the prepared pan and bake for about an hour or until a toothpick inserted comes clean. Let it cool slightly and then remove from the pan. Slice them into ¾ inch pieces and serve warm.

Notes

152 Cal; 4g Fat; 26g Carb;3g Protein;13g Sugar; 2g Fiber

http://www.thefoodielovers.com/2014/12/whole-wheat-banana-cranberry-oat-bread-with-greek-yogurt/

Enjoy!


Print
Recipe

Honeycomb 4 main
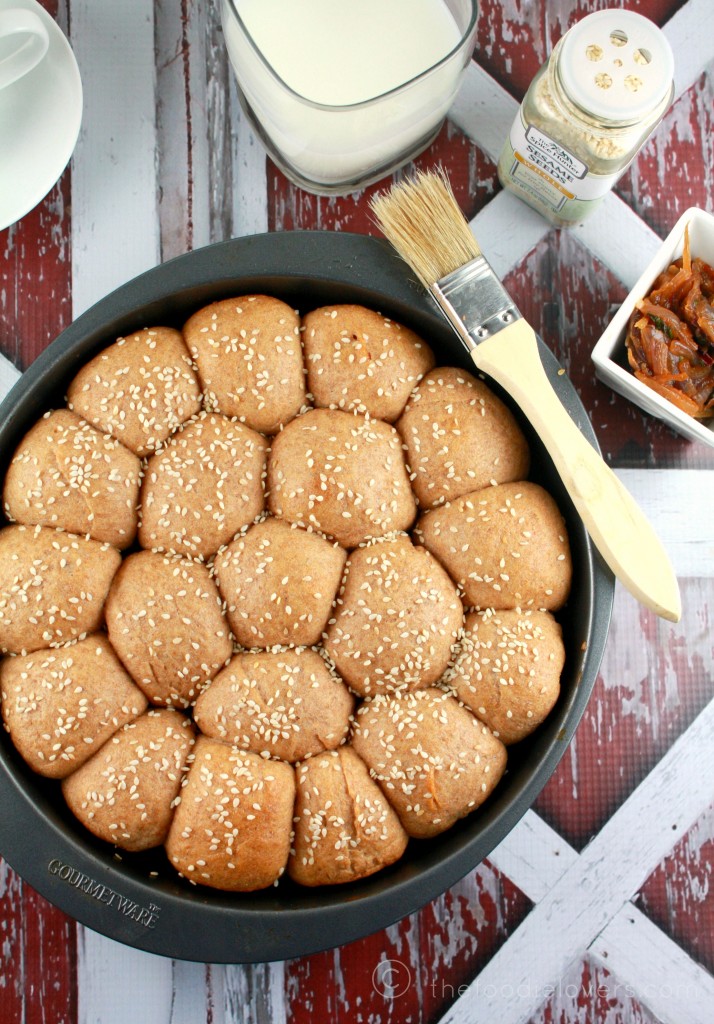
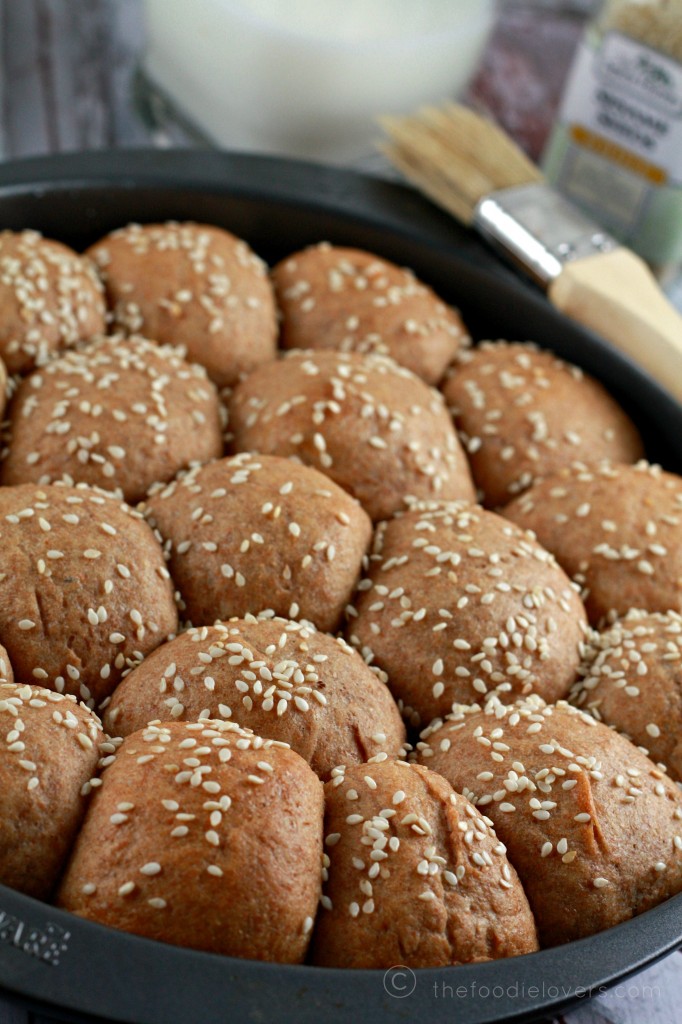
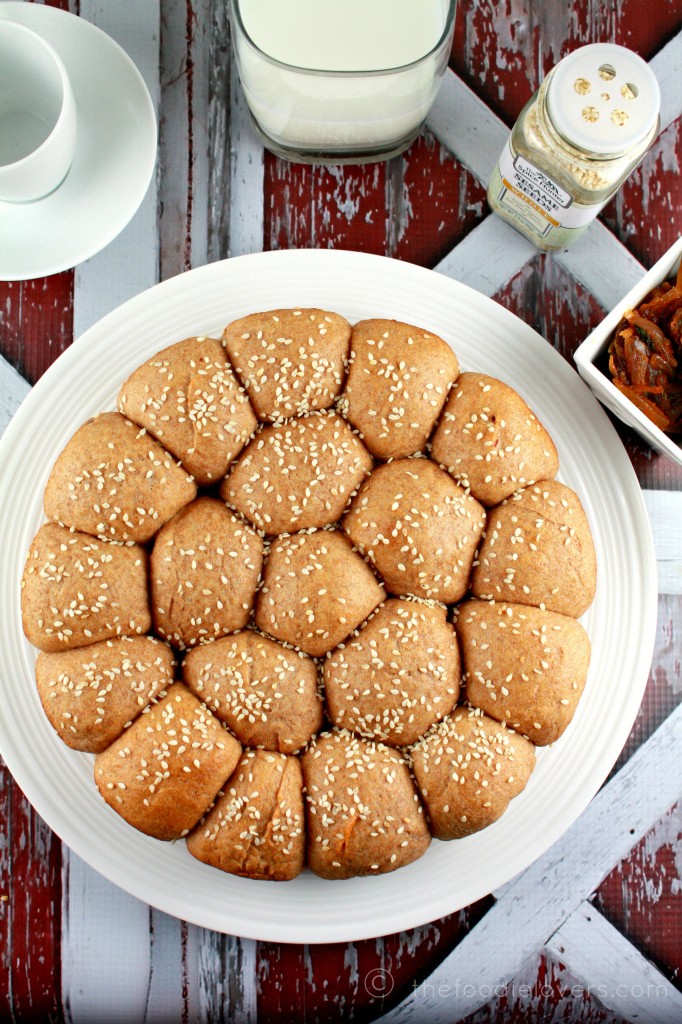
Aparna always comes up with interesting breads for the “We need to Bake”. This time it was KHALIAT NAHAL ( HONEYCOMB BUNS OR BEE’S HIVE BUNS ).These are cute little buns structured in the form of a Bee Hive. The whole grain health bug has caught me too. I have started making an attempt to use whole grain though I haven’t been able to completely make the switch.

Honeycomb 3 main
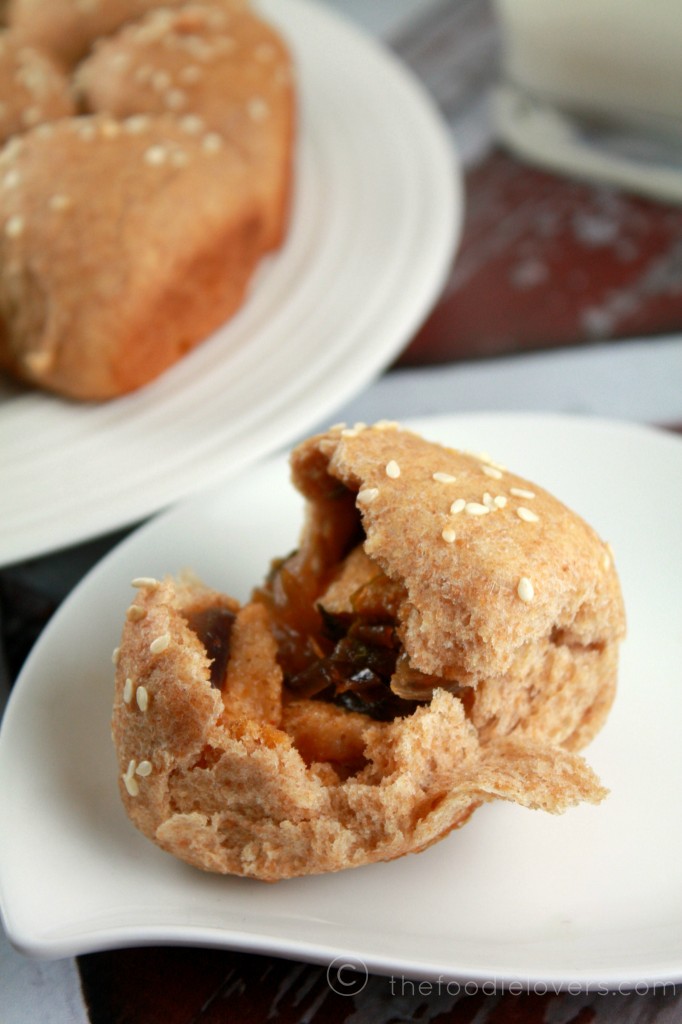
The original recipe called for 2½ cups all-purpose flour. I have substituted it with 2 cups of whole wheat flour and reduced the milk to ¾ cup instead of 1. While baking with low protein flours like Whole Wheat, adding Vital Wheat Gluten really helps. Since its purely gluten it goes a long way to improve the elasticity of the dough and rising. The wheat buns were a little dense which was expected,thanks to the flour!!.But if you are used to eating wheat breads you wouldn’t be disappointed with this one. I believe they are traditionally made sweet and glazed with honey flavored syrup. I am more of a savory person so ended up baking the Savory buns. While thinking about filling, Caramelized Onions were the first to cross my mind. They are my favorite!!! I love this bun, the filling in every bite balances the flavor and the taste of the buns.

Honeycomb buns main
The below mentioned recipe makes 18 small buns which is good to go with a 9” round pan. Usually cream cheese is used as a filling; but there are plenty of other choices like feta cheese/paneer(cottage cheese)/cheese. And for the Sweet ones: Chocolate,dried fruit like dates, raisins, chopped nuts, chopped fruit , sweetened coconut are great options.

Honeybuns 2 main Incase you plan to make the sweet one, here is the recipe.Sugar Syrup/ Glaze : 3/4 cup sugar;1/2 cup water;A pinch of saffron; 1 tablespoon honey; 1 teaspoon lime/ lemon juice. Make the sugar syrup/ glaze during the first rise of the dough. For this put the sugar, water and saffron in a small pan and bring to a boil. Turn down the heat and let it simmer for a few minutes until it starts thickening a bit. Take it off the heat and add the honey and the lime/ lemon juice. Mix well and let it cool. Keep aside till needed. When the sweet buns come out of the oven, pour the syrup all over the top of the “Honeycomb”. The bread should be hot and the syrup/ glaze should be cool. If you want your Honeycomb Buns to be less sweet, just brush the syrup/ glaze over the top. Let it sit for a while for the syrup/ glaze to set a bit. I plan to try the sweet one next time.

Whole Wheat Honeycomb Buns with Carmelized Onion Filling

Ingredients

  • ¾ cup lukewarm milk
  • 1 1/2 teaspoon instant yeast
  • 1 teaspoon sugar
  • 2 cups whole wheat flour
  • 3 teaspoon vital wheat gluten
  • 3/4 to 1 teaspoon salt
  • 3 tablespoon butter, melted
  • 2 tablespoon milk for brushing the dough
  • 2 tablespoon white sesame seeds for sprinkling on top
  • For the filling:
  • 1 red onion sliced
  • 1 tablespoon olive oil
  • ½ teaspoon cayenne pepper
  • ½ teaspoon salt
  • Mint leaves, a few
  • OR
  • 1 cup of filling (approximately) of your choice

Instructions

Make sure your melted butter has cooled down a bit before using it. Put 2 cups of the flour, salt, sugar (if making the sweet bread only) and melted butter in the bowl of your processor. Run a couple of times to mix well.

Combine the milk, sugar and yeast in a small bowl and keep for 5 minutes. Add this to the processor bowl and knead until you have a smooth and elastic dough which is not sticky. Add as much of the remaining 1/2 cup of flour as you need to get this consistency of bread dough. I used all of 2 1/2 cups of flour for mine.

Shape the dough into a ball and place it in a well-oiled bowl, turning it to coat completely with the oil. Cover and let it rise till double in volume, for about an hour.

Turn the dough out onto your work surface. You won’t really need to flour it as the dough is quite manageable as it is. Cut it into 2 halves. With your palms, roll out each half a “rope” about 9” long. Cut each rope into 1” pieces so you have a total of 18 pieces. Take each piece and flatten it out a little and place half a teaspoon of filling in the centre. Pull up the sides and wrap the dough around the filling, pinching it closed at the top. Smoothen it into a round ball. Place this in a well-greased round 9” cake tin. Repeat with the remaining 17 pieces and the filling. Arrange the filled balls of dough in concentric circles, filling the base of the cake tin. Cover with a kitchen towel and let it rise for about 30 to 40 minutes. Brush the tops with milk and sprinkle the sesame seeds over this. Don’t use the sesame seeds for sweet bread, only for the savoury one. Bake the buns at 350F for about 25 minutes, until they’re done and a nice golden brown on top. Let them cool in the tin for about 5 minutes and then on a wire rack. Serve them warm with tea/ coffee.

For the Filling – Heat oil in a pan and sauté the onions until pink. Add the sugar which will help to caramelize them. When they are almost done, add the salt; pepper and mint leaves. Mix well.

http://www.thefoodielovers.com/2013/09/whole-wheat-honeycomb-buns-with-carmelized-onion-filling/

Thanks Aparna for the recipe.

Enjoy!!

Nina

Print
Recipe

FB Scones 4 main

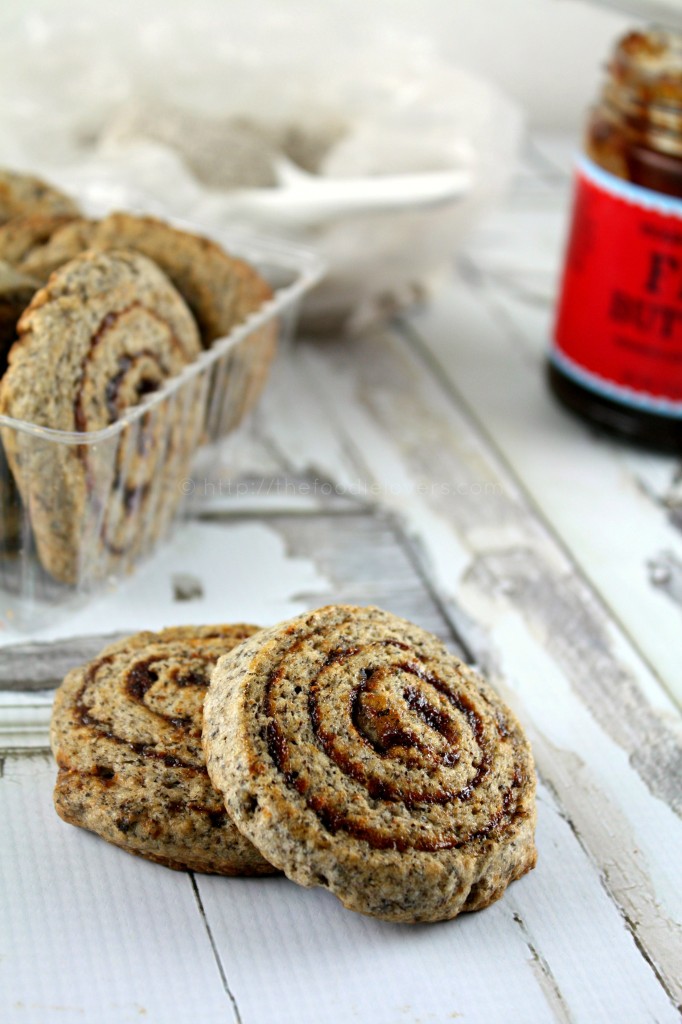
The WHOLE GRAIN bug seems to have caught me too. It’s been a while that I have been thinking of switching to whole grains but somehow it never happened. A few weeks back while shopping at Whole Foods I was overwhelmed looking at different kinds of flours available there. I immediately bought - rye, spelt and buckwheat flour. With Rye flour, I baked a Raisin Rye Bread which never made it to my blog as we wiped it even before I could photograph it. With Spelt,I plan to make some biscuits – so watch out for this space:).

FB Scones 2 main

BUCKWHEAT is a very healthy grain with very high nutritional values. It has a strong and distinctive flavor, so not many prefer this flour. It’s usually grounded with the outer bran resulting in a rich grey/purple color with dark flecks. The black flecks/hull is the reason for its pleasant bitterness. Buckwheat is said to be something of an acquired taste.. Since I was working with it for the first time, I so wanted to like it - mainly because its healthy. With the flour, all I could think was to make Pancakes. Since I wanted to bake, I decided to go with the Scones.

Scones 1 main

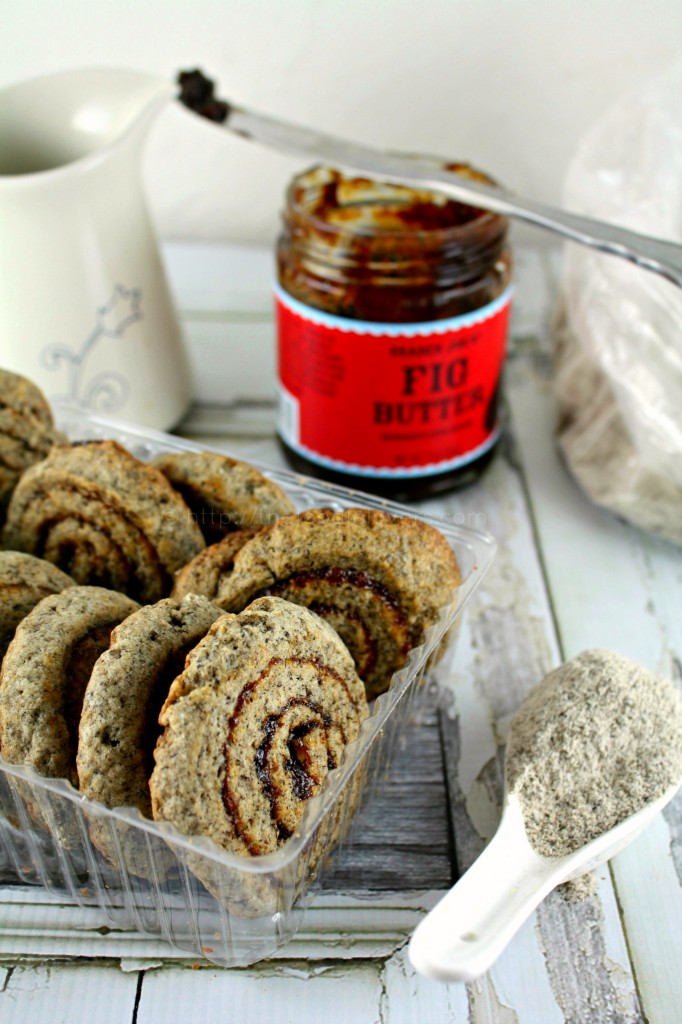
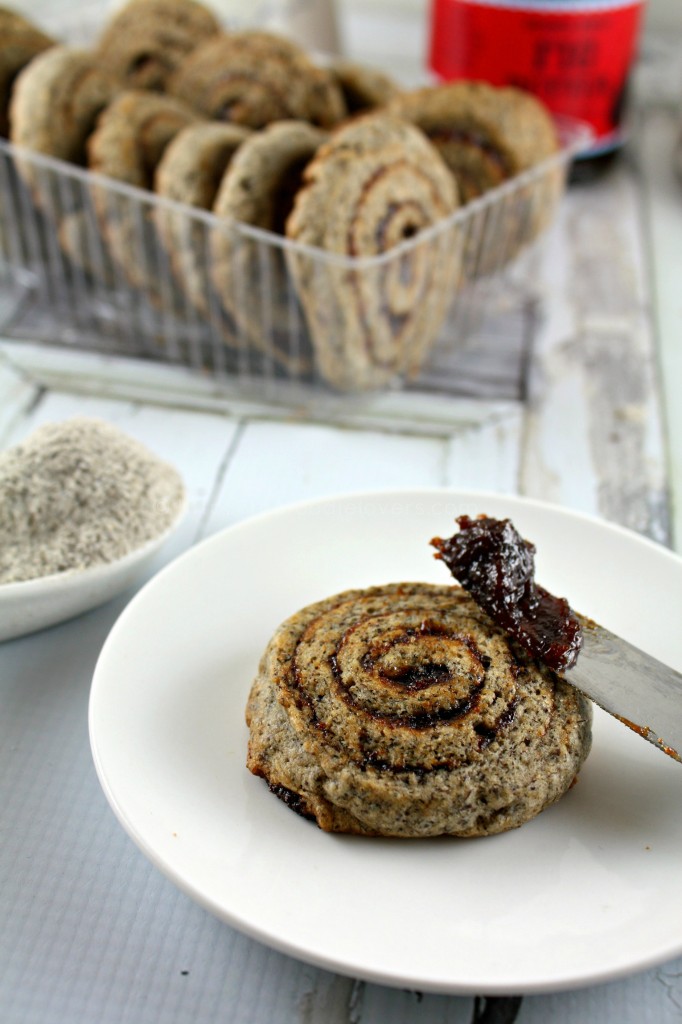
Also as it does not contain gluten, it’s very good for people with gluten allergies. If you are planning to introduce Buckwheat in your cooking, these Scones are the best way to start:). The scones tasted nutty and delicious. I didn’t have time to make the fig butter so picked up a bottle from Trader Joe’s. The fig butter and the buckwheat were meant to be together,they paired so well. I even spread a little on top of the baked scones….gosh it was heaven!!!

FIGGY BUCKWHEAT SCONES

Makes about 12
Ingredients:
Dry Mix – ½ cup buckwheat flour
½ cup + 2 tablespoon all-purpose flour
¼ cup sugar
1 teaspoon baking powder
¼ teaspoon salt
Wet Mix
4 tablespoon butter (cut into small pieces)
½ cup + 1 tablespoon heavy cream
½ cup fig butter ( or more)
Directions: Sift dry ingredients into a large bow, pouring back into the bowl any bits of grain or other ingredients that may remain in the sifter. Add the butter to the dry mixture. Rub the butter between your fingers,breaking it into smaller bits. Continue rubbing until the butter is coarsely ground and feels like grains of rice. The faster you do this,the more butter will stay solid,which is important for the success of this recipe. Add cream and gently mix it into the flour with a spatula until the dough is just combined.

Using a spatula or pastry scrapper transfer the dough into a well floured surface. It will be sticky so flour your hands with the flour and pat the dough into a rectangle that is about 8 x 16 inches and 3/4 inch thick. I rolled it out a little too thin so ended up with 12 scones. Ideally for this recipe you should get about 6-8 scones. If at any time the dough rolls off in a different direction,use your hands to square the corners and pat it back into shape. As you’re running periodically run a pastry scrapper or spatula underneath to loosen the dough,flour the surface and continue rolling. This keeps the dough from sticking. Flour the top of the dough with flour if the dough is sticking. Spread the fig butter over the dough.Roll the long edge of the dough,patting the dough as you roll so that it forms a neat 16 inches long roll. Roll the finished log so that the seam is on the bottom and the weight of the roll seals the edge.

Using a knife,slice the roll in half. Put the halves on a baking sheet,cover loosely with plastic wrap and refrigerate for about 30 minutes( The dough can be kept covered in the refrigerator for upto 2 days).While the dough is chilling preheat the oven to 350F. Line the Baking sheet with parchment paper.

After 30 minutes,take the logs out and cut each half into slices about 1 1/4 inches wide. Place each scone flat ,with the spiral of the fig butter facing up. Give the scones a squeeze to shape them into rounds. Bake for about 35-40minutes,rotating sheets halfway through. The scones are ready to come out when their undersides are golden brown.

They are best eaten warm from the oven or later the same day. They start becoming a little soft after a day or so.

The above recipe was adapted from Good to the Grain book by Kim Boyce.

Bon Apetite!

Nina

Related Posts Plugin for WordPress, Blogger...

COPYRIGHT

MyFreeCopyright.com Registered & Protected

FAVORITE POST

Povitica Bread

Povitica - An East European Bread

Photobucket
BFS-logo
Proud member of FoodBlogs
my foodgawker gallery
Manage your shopping list and search for recipes from across the web at ZipList.com

SOCIAL MEDIA

ARCHIVES

Blogroll